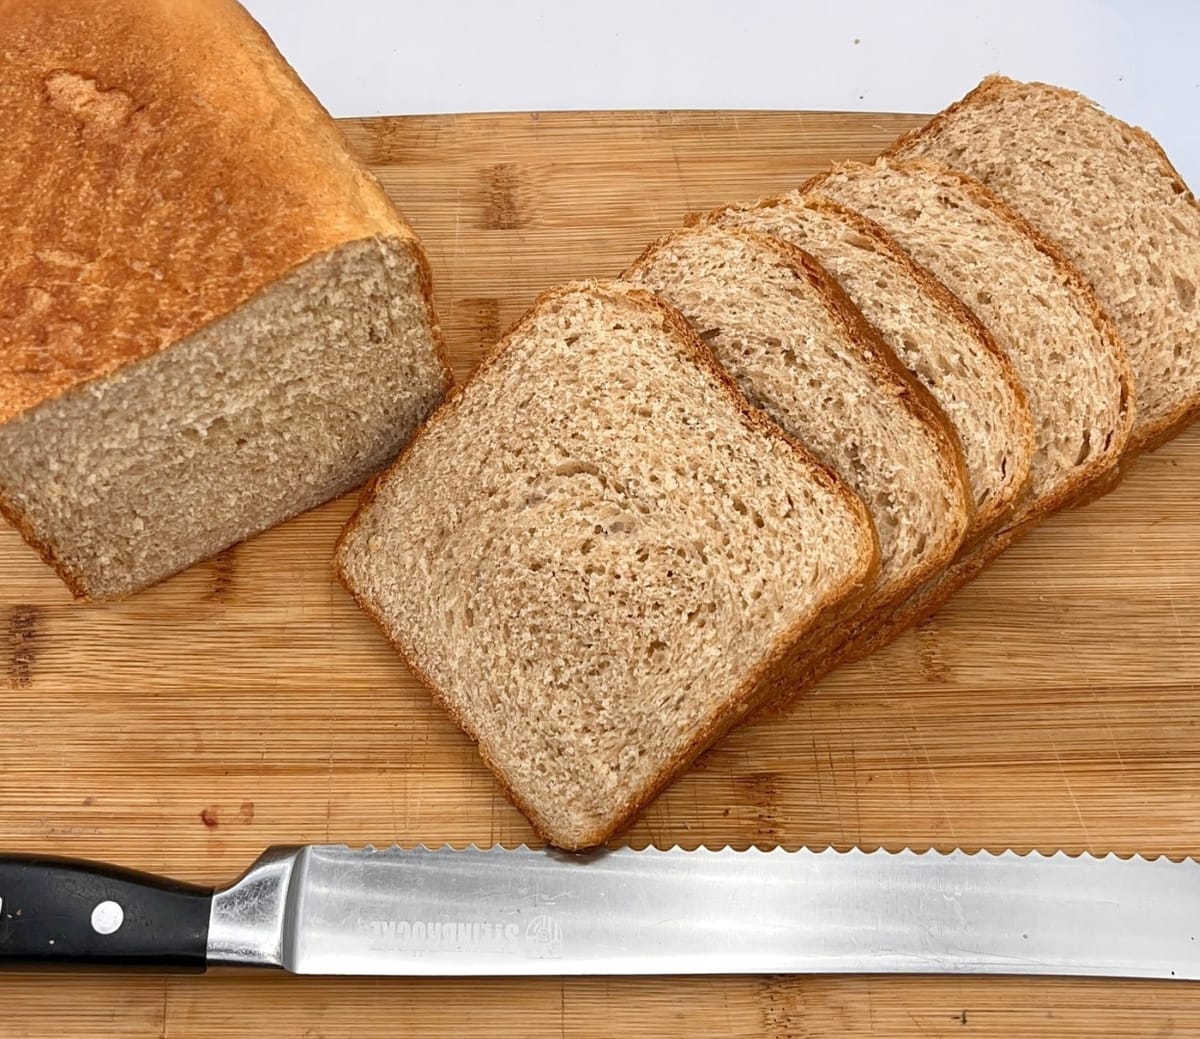
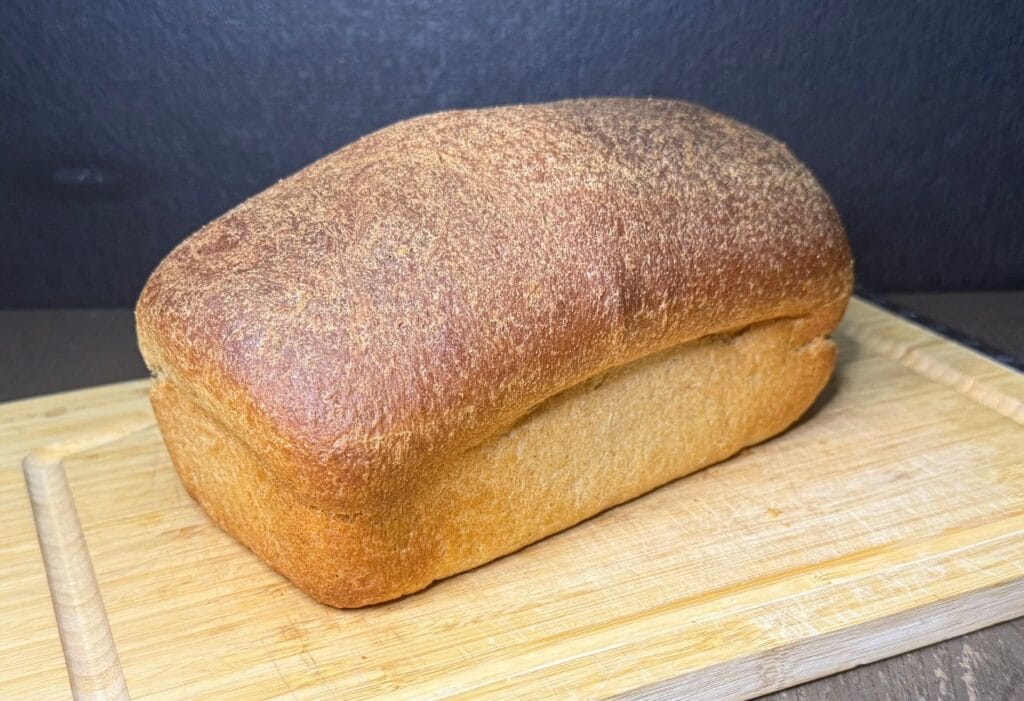
The Ultimate Soft Sandwich Bread
IntermediateWhole Wheat PullmanLoaf
by Henry Hunter
Rise Time
2.5-3 hours
Bake Time
35-45 minutes
Yield
1 Pullman loaf (20-24 slices) OR 2 standard 9x5 loaves

Perfection is not required
"Great bread isn't about perfect technique—it's about understanding the dough."— Henry Hunter
By Henry Hunter Jr., founder of Crust & Crumb Academy and Baking Great Bread at Home.
Authentic Flavor
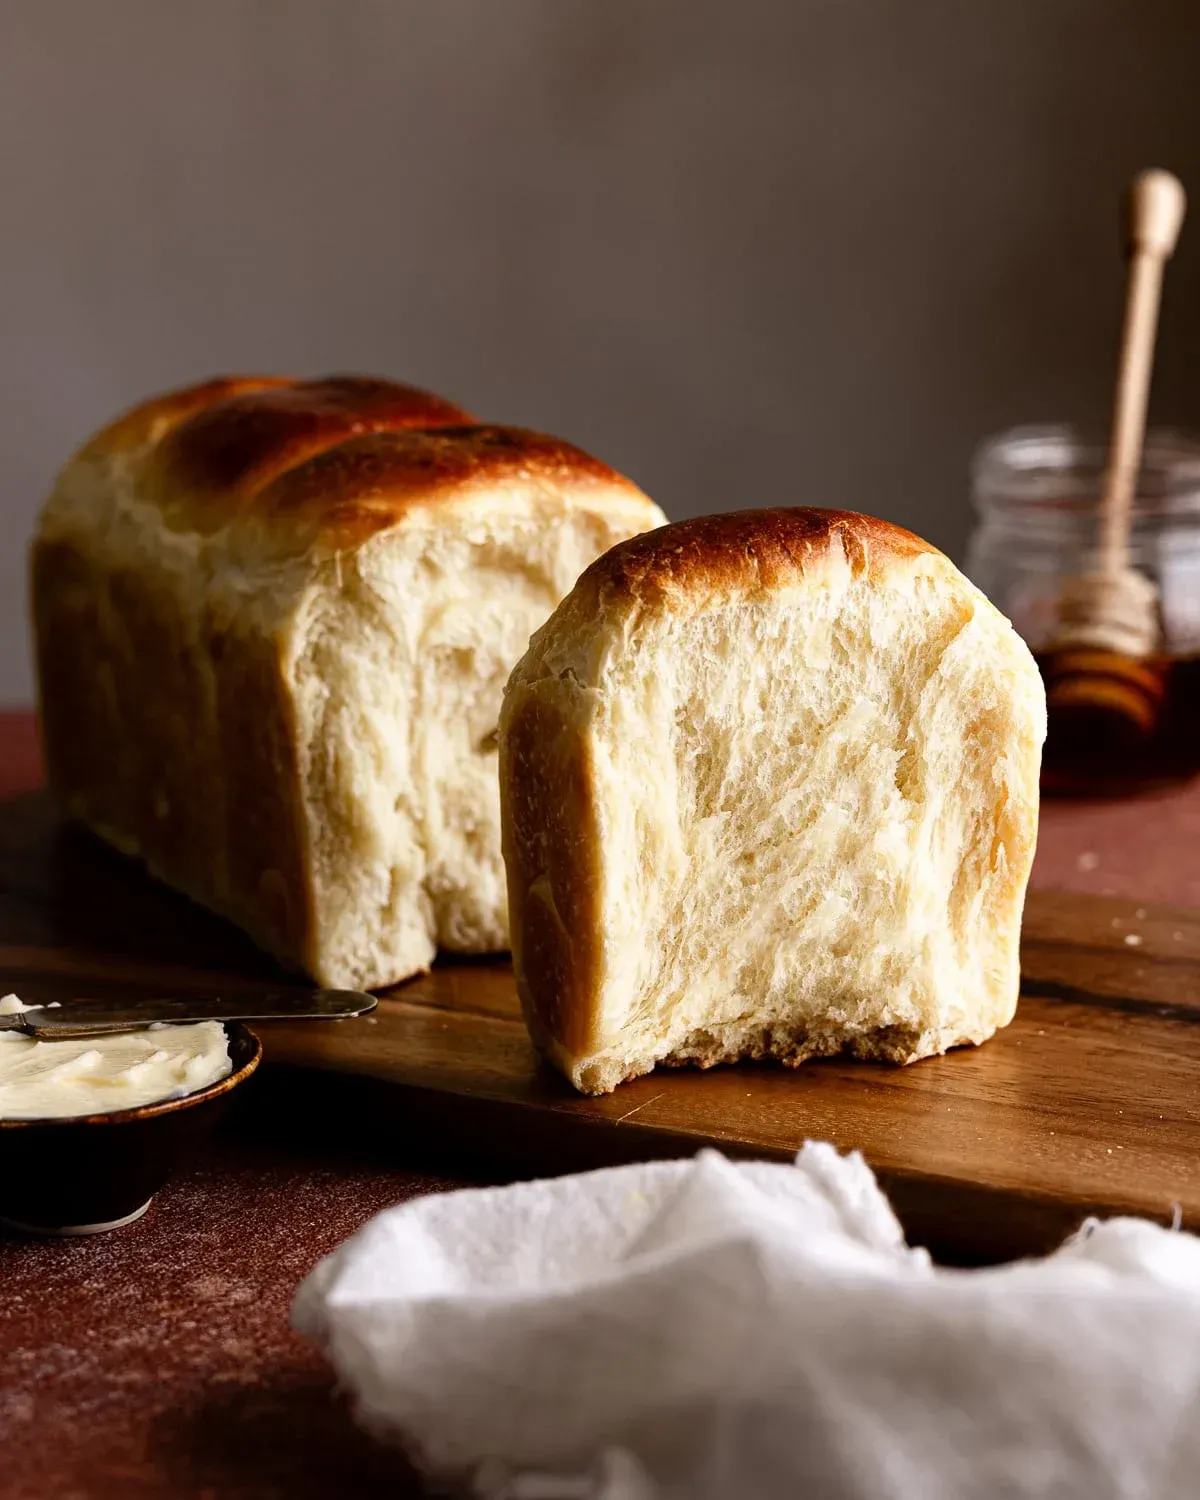
Soft, tender whole wheat sandwich bread that stays fresh for days. Choose standard or Tangzhong method for maximum softness.
Ingredients
Main Dough
Pro Tip
White whole wheat flour (milled from hard white wheat) produces a milder, less bitter flavor than traditional red whole wheat. If using regular whole wheat flour, consider adding 2 tablespoons of orange juice to the liquid to mellow any bitterness.
Mix
Mix the Dough
Combine all ingredients to form a soft, slightly tacky dough. Whole wheat dough will never become as smooth as white flour dough, and that's okay.
Click each step to mark complete
Combine wet ingredients
In the bowl of a stand mixer, combine the warm milk, warm water, and honey. Sprinkle the yeast over the top and let sit for 5 minutes until foamy.
Add dry ingredients
Add the flour, dry milk powder (if using), and salt. Mix on low speed with the dough hook until a shaggy dough forms, about 2 minutes.
Rest the dough ()
Cover the bowl and let the dough rest for 20 minutes. This allows the whole wheat flour to fully hydrate and makes kneading easier.
Add butter
Add the softened butter and mix on low speed until incorporated.
Knead the dough
Increase to medium-low speed and knead for 8-10 minutes until the dough is smooth, elastic, and slightly tacky but not sticky. The dough should pass the .
Pro Tip
Resist adding extra flour during kneading. Whole wheat dough is naturally tackier than white flour dough. A slightly sticky dough produces a moister loaf.
First Rise
Bulk Fermentation
Allow the dough to rise until puffy and nearly doubled. This develops flavor and structure.
Click each step to mark complete
Shape into ball
Turn the dough out onto a lightly oiled surface and shape into a smooth ball.
Place in bowl
Transfer to a lightly greased bowl or dough-rising bucket. Cover with plastic wrap or a damp towel.
Let rise
Allow to rise at room temperature (75-78°F / 24-26°C ideal) until puffy and nearly doubled, about 1-1.5 hours. The dough should spring back slowly when gently poked.
⏱ Wait Time
First rise until nearly doubled
Pro Tip
If your kitchen is cool, place the covered bowl in the oven with just the light on, or use a box set to 78°F (26°C).
Precise Timers
Use these interactive timers to track your stages.
First Rise Check
Second Rise
Final Proof
The final rise determines your loaf height and texture. Proper is critical for Pullman bread.
Click each step to mark complete
Cover the pan
For s, lightly grease the inside of the lid and slide it mostly closed, leaving a 1-inch gap to monitor the rise. For standard loaf pans, cover loosely with greased plastic wrap.
Proof the dough
Let rise in a warm place until the dough reaches: Pullman with lid: about ¾" to 1" below the top of the pan. Standard loaf pan: about 1" above the rim of the pan.
Preheat oven
About 20 minutes before baking, preheat to 350°F (175°C).
⏱ Wait Time
Final proof until properly risen
Pro Tip
Don't overproof! If the dough rises too high, it may collapse during baking or pop the lid off the Pullman pan. Use the : the dough should spring back slowly but not completely.
Precise Timers
Use these interactive timers to track your stages.
Final Proof Check
Preheat Oven
Shaping
Shape the Loaf
Properly shaping the loaf prevents air pockets and ensures even rising in the pan.
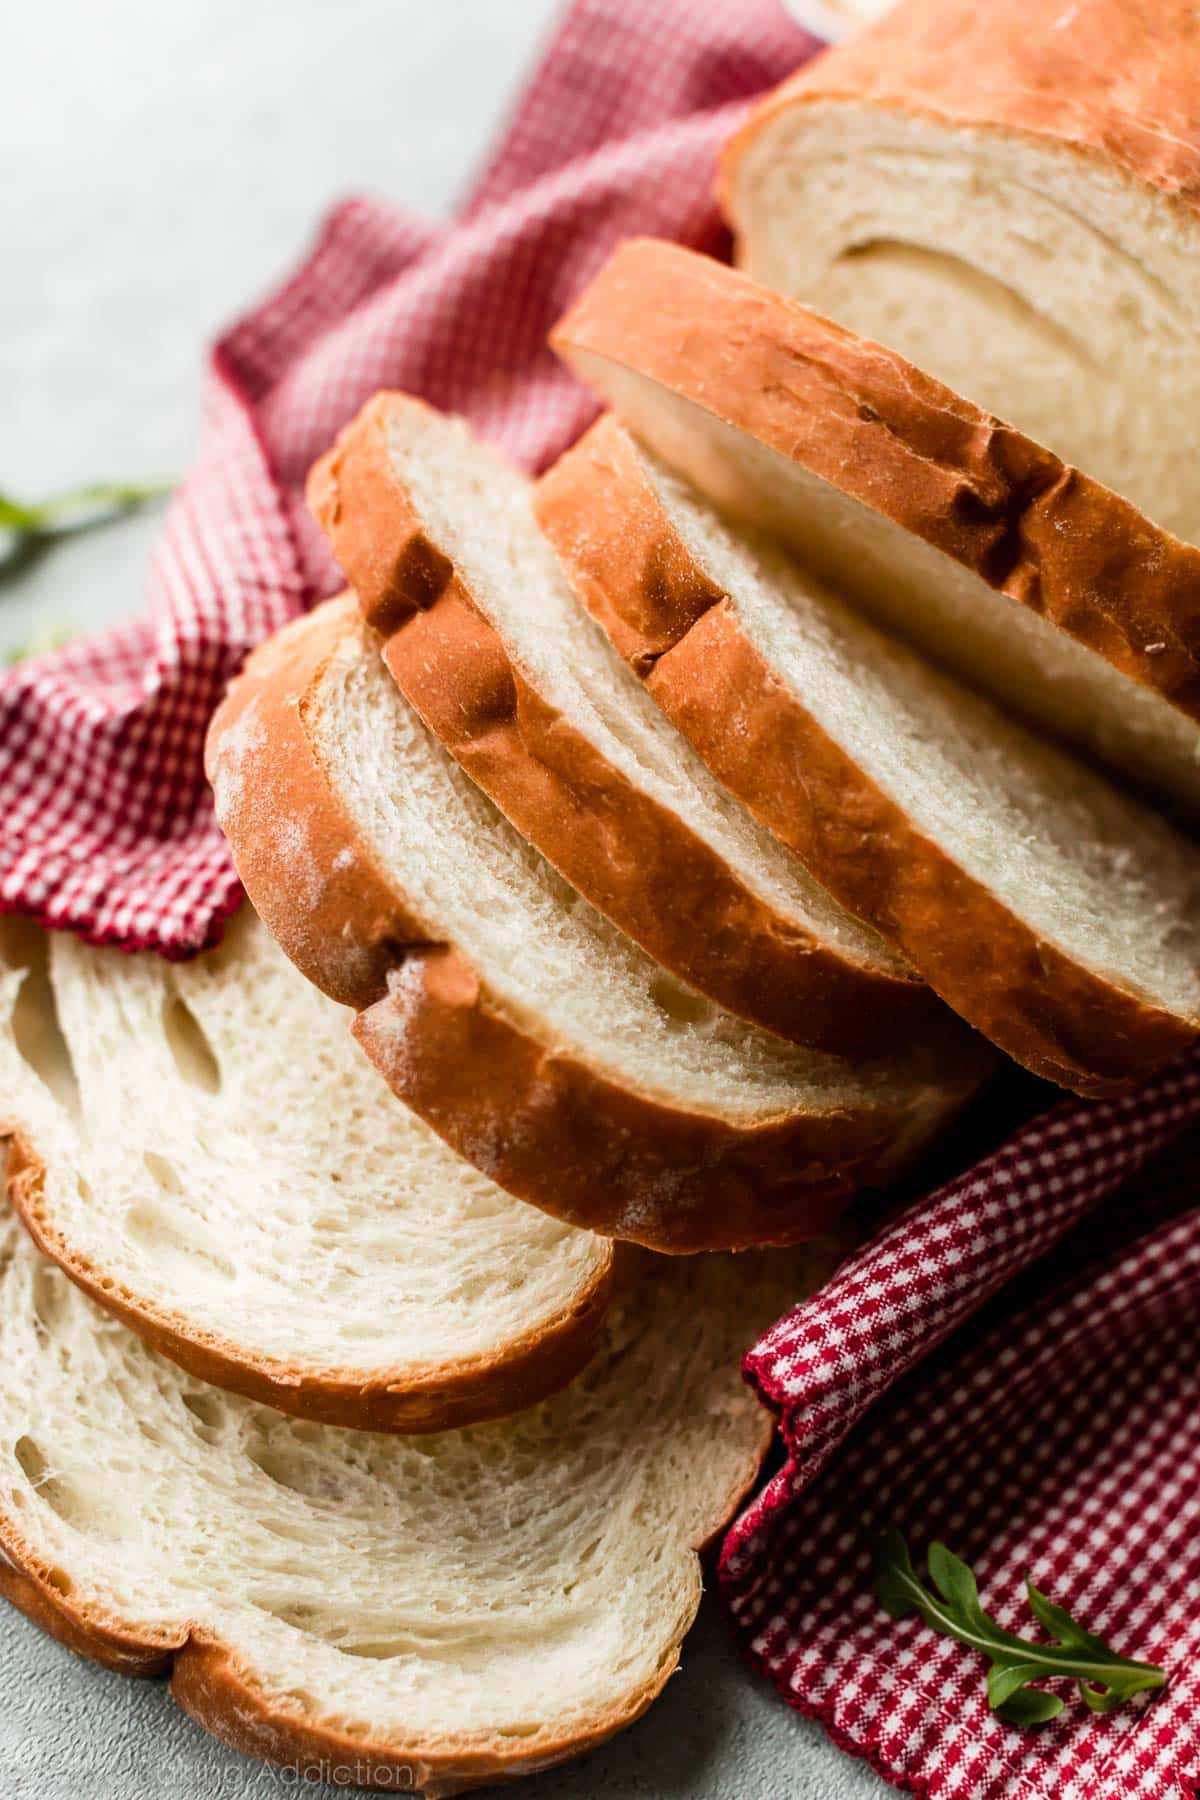
Pullman Loaf (Square)
Creates perfectly square slices ideal for sandwiches. Requires a with lid.
RecommendedClick each step to mark complete
Prepare the pan
Generously grease your (including the lid) with butter or cooking spray.
Deflate gently
Turn the risen dough out onto a lightly floured surface. Gently press to deflate without completely degassing.
Shape the dough
Pat the dough into a rectangle about 12" wide (for 13" pan). Roll tightly from the short end into a log, pinching the seam to seal.
Place in pan
Set the shaped log seam-side down in the prepared pan, pressing gently to fit into the corners. The dough should fill about ⅓ to ½ of the pan.
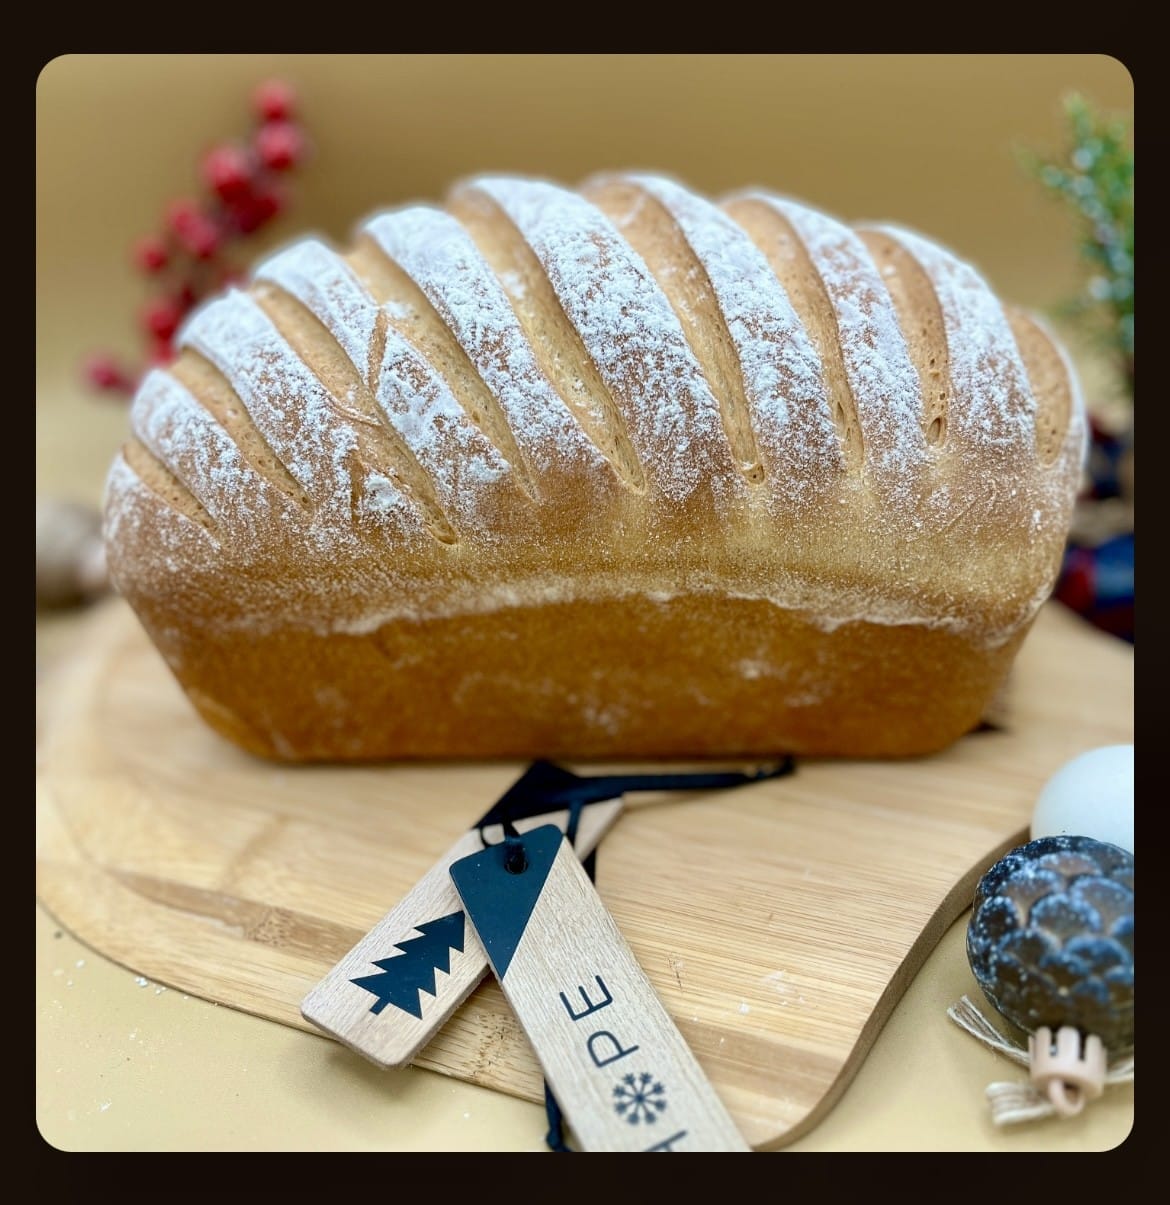
Standard Loaf (Domed Top)
Traditional loaf shape with rounded top. Works in any loaf pan or Pullman pan without lid.
Click each step to mark complete
Divide the dough
Divide dough in half for two loaves.
Shape each piece
Pat each piece into an 8" rectangle. Roll tightly and pinch seam to seal.
Place in pans
Place seam-down in greased pans. Let rise until 1" above rim.
Proof Test: : Gently press your finger about ½" into the dough. If the indentation springs back slowly but doesn't fill completely, the dough is ready. If it springs back quickly, it needs more time. If it doesn't spring back at all, it's overproofed.
The Final Step
Bake
Baking transforms your dough into golden, tender sandwich bread.
Baking Methods
Creates perfectly square slices for sandwiches
Equipment: Pullman loaf pan with sliding lid
Close the lid
Slide the lid completely closed.
Bake covered
Place in the center of the preheated oven. Bake for 25-30 minutes with lid on.
Remove lid and finish
Remove the lid and bake for an additional 10-15 minutes until the top is golden brown.
Check doneness
Insert an instant-read thermometer into the center. It should read at least 190°F (88°C).
Nutrition Facts
Per 1 slice (about 42g) • 24 servings per recipe
* Values are estimates based on standard ingredients
Storage
Room Temperature
4-5 days in a bread bag or wrapped in a clean kitchen towel (5-7 days with method)
Refrigerated
Not recommended. Refrigeration accelerates staling.
Frozen
Up to 3 months. Slice before freezing for easy portioning. Thaw at room temperature or toast directly from frozen.
Refresh
Toast slices directly from frozen, or warm a whole loaf at 350°F (175°C) for 10-12 minutes.
💡 Do NOT refrigerate—refrigeration accelerates staling in bread.
Your Feedback
Rate This Recipe
Loading ratings...
Troubleshooting
Baker's Notes
Common questions and solutions for perfect results

If you're serious about scoring, you need the right blade in your hand. Wire Monkey makes handcrafted bread lames from black walnut — built to last, balanced in the hand, and sharp enough to glide through cold dough cleanly every single time. No dragging, no hesitation marks. Just a clean cut.
Wire Monkey Handcrafted Bread Lames
You Might Also Enjoy
More recipes from our pantry that pair well with this bake.
Get More Recipes in Your Inbox
Join thousands of home bakers receiving weekly recipes, tips, and techniques to elevate your bread game.
No spam, ever. Unsubscribe anytime.
More from Baking Great Bread at Home
Tools, resources, and community to help you bake better bread

Crust & Crumb Academy
Go deeper into your craft. FREE courses, challenges, and real feedback. No gatekeeping. Perfection is not required.

Sourdough Starter Companion
Your AI-powered starter assistant. Track feedings, troubleshoot issues, and keep your starter thriving.

Fermentation Compass
Stop guessing when bulk fermentation is finished. Read your dough. Nail your bake.

BakingGreatBread.com
Real bread for the rest of us

Baking Great Bread Blog
Recipes, tips, and stories from the bread journey
Recipe Converter
Convert sourdough recipes to yeast and back again
Crust & Crumb App
Your AI-powered baking assistant

Facebook Community
Join 50,000+ bakers sharing, learning, and supporting each other

Sourdough for the Rest of Us
Free beginner's guide to sourdough