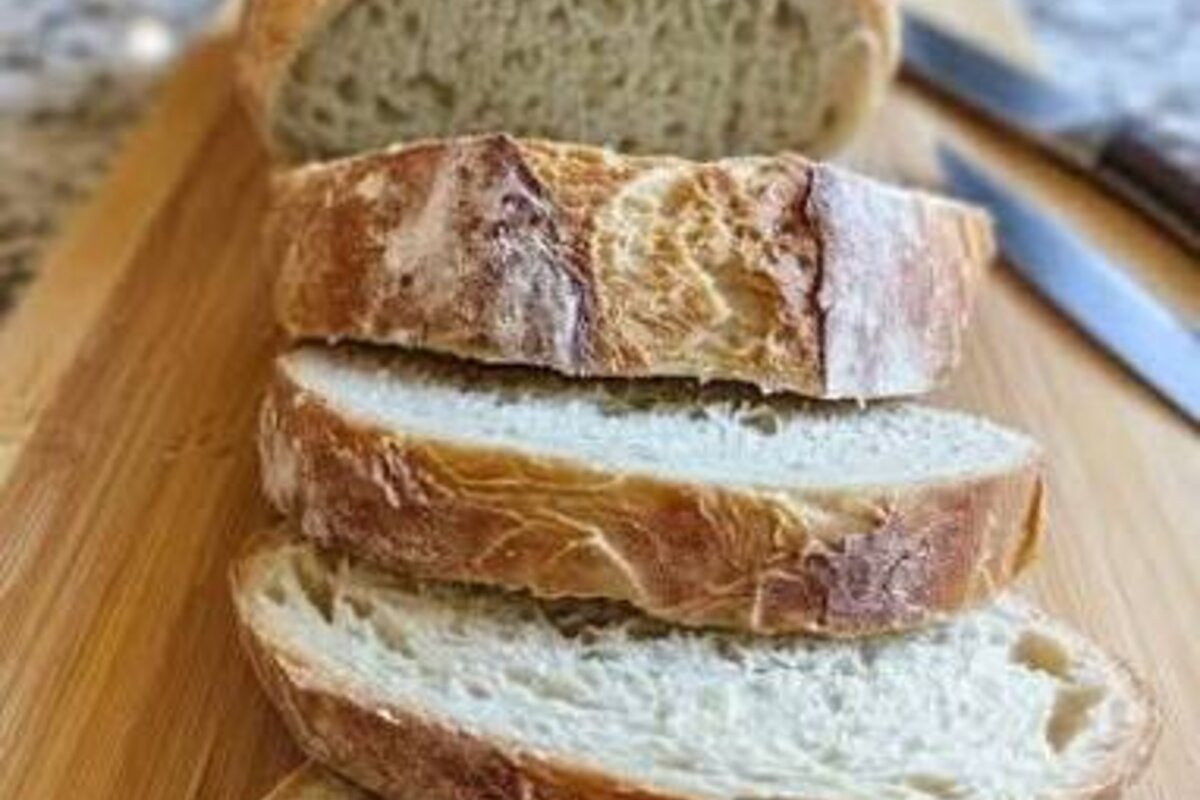
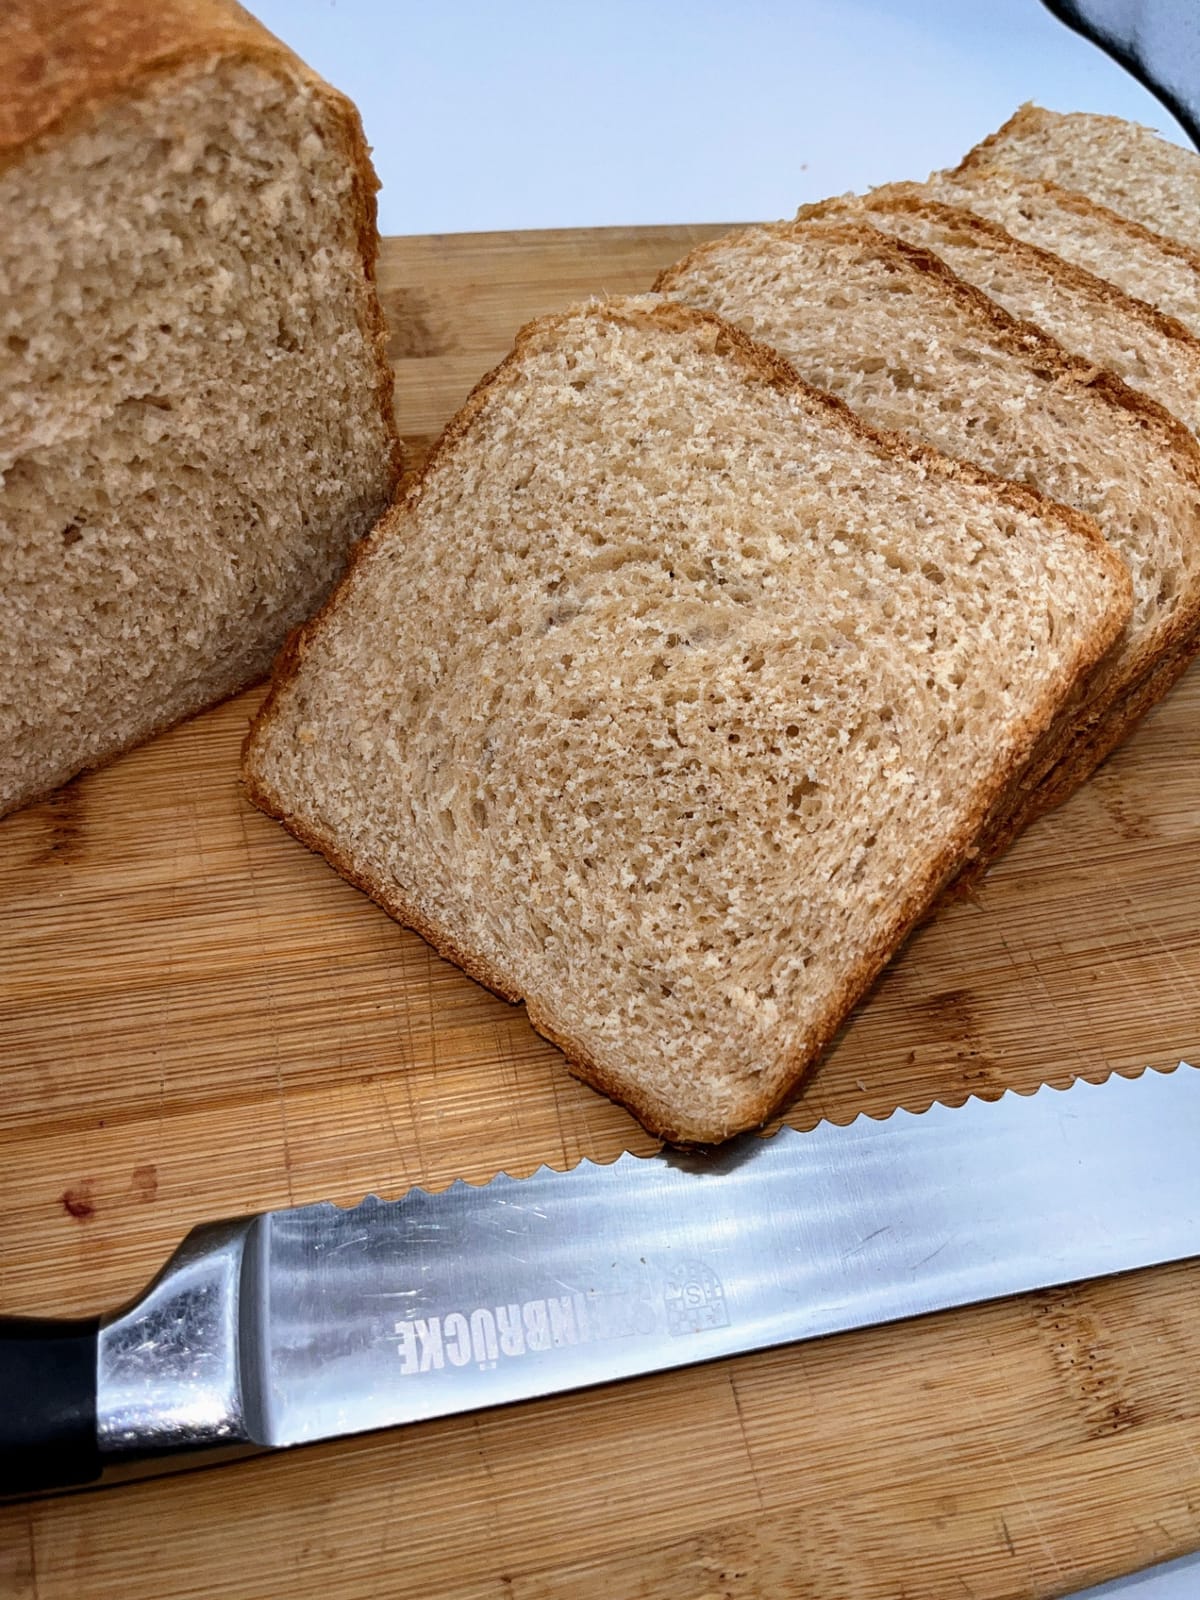
A Naturally Leavened Lean Loaf with Honey, Olive Oil, and Milk
IntermediateSourdough Soft Italian SandwichBread
by Henry Hunter Jr.
The slow lunch loaf.
Fermentation
4-8 hours levain, then 4-6 hours bulk
Bake Time
30-35 minutes
Yield
One 8½ x 4½-inch loaf, about 12 slices

Perfection is not required
"Perfection is not required. Progress is."— Henry Hunter Jr.
By Henry Hunter Jr., founder of Crust & Crumb Academy and Baking Great Bread at Home.
Authentic Flavor
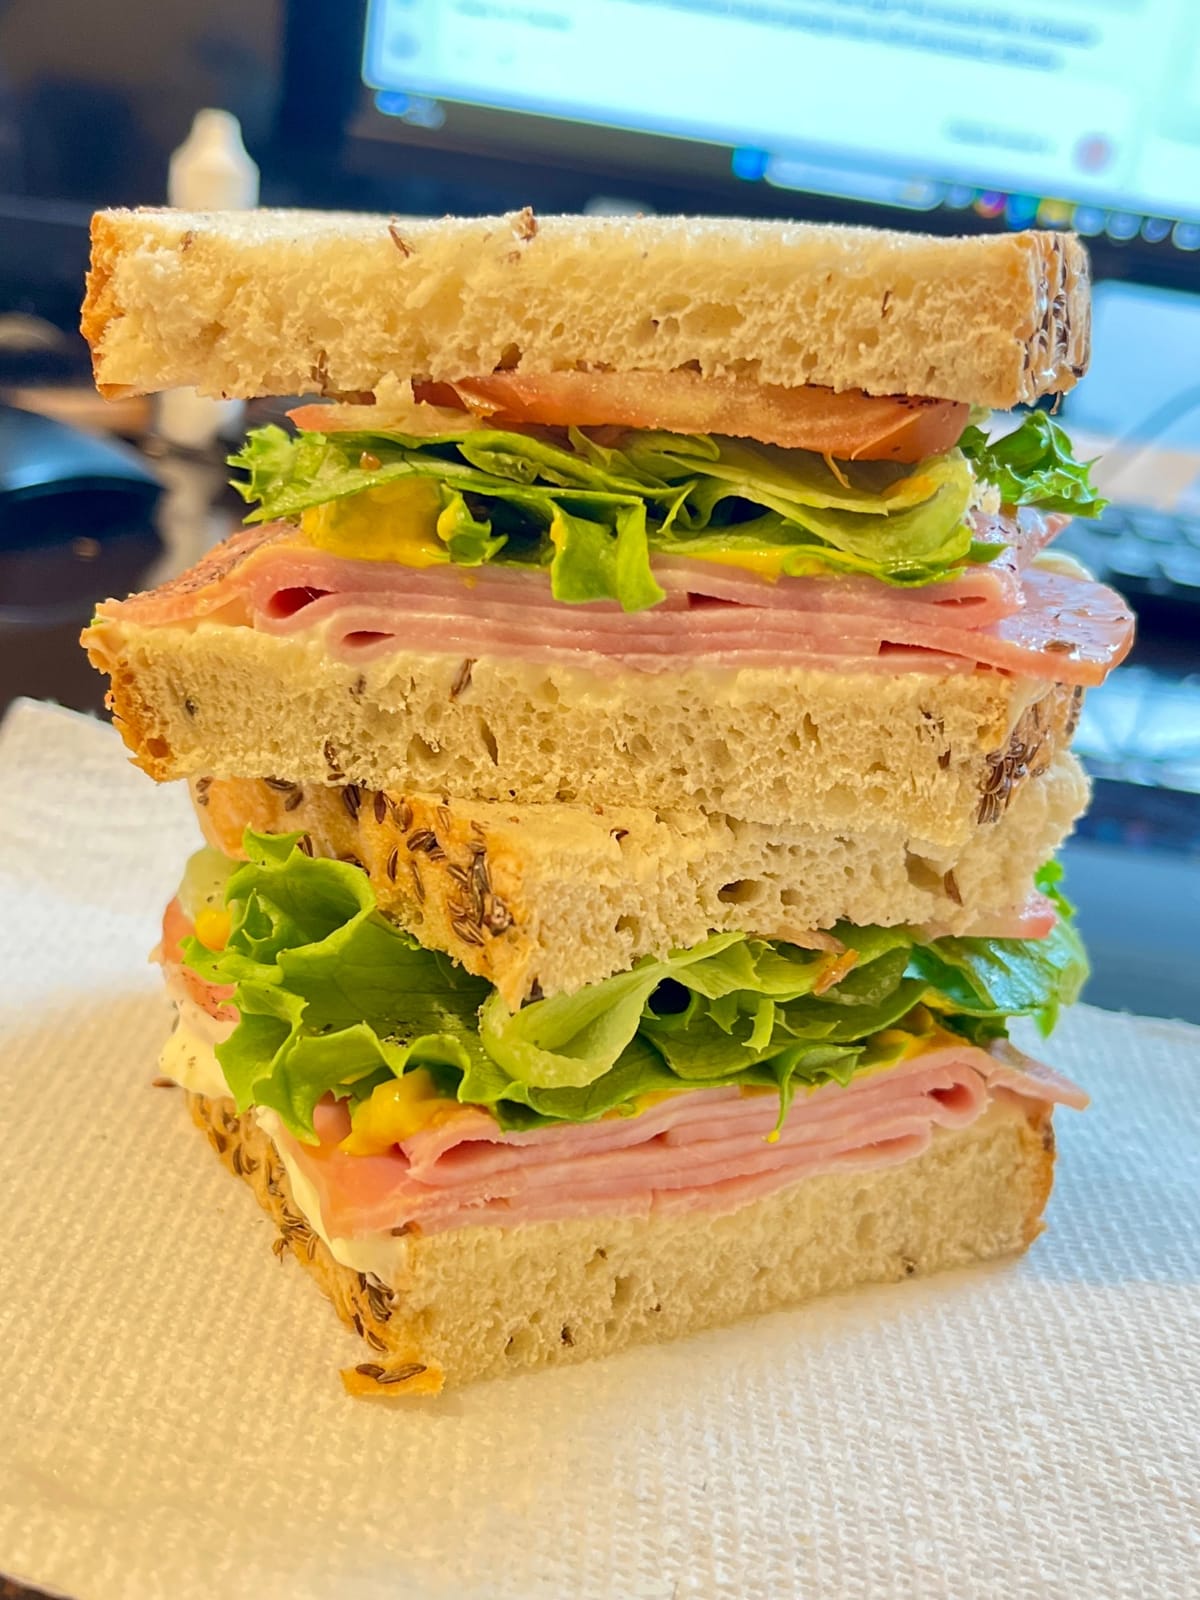
This is the naturally leavened sibling of a member's lean sandwich loaf. Same lean formula she dialed in for her boyfriend's weekday lunches, honey, olive oil, and milk, just built on a levain instead of yeast. It takes longer and it keeps longer. If your starter is happy, this is the one I would bake.
Equipment Needed

65% Hydration
Wetter dough creates a more open, airy crumb and superior crust
Ingredients
The Levain
Build this first from an active starter. It replaces the yeast entirely.
The Final Dough
Everything else goes in once the levain is ripe and floating.
Pro Tip
Weigh everything, the levain included. The whole formula is built around a 20 percent levain, so an eyeballed scoop of starter throws the timing off. The scale keeps it honest.
Step 1
Build the Levain
Wake up the starter and let it ripen
The is your engine. There is no commercial yeast in this loaf, so a strong, active levain is the whole game. Build it from a starter that is already lively.
Click each step to mark complete
Mix the levain
Stir the starter, flour, and water together until smooth. Cover it loosely.
Ripen until it floats
Let it sit at around 76F (24C) until it has roughly doubled, looks domed and bubbly, and passes the : drop a small spoonful in water and it should float. In a warm kitchen this is 4 to 6 hours. Cooler, it can take 8 or more.
⏱ Wait Time
4-8 hours
Pro Tip
Build this at night for a morning bake day, or in the morning to mix in the afternoon. A levain caught right at its peak gives you the best rise and the cleanest flavor.
Acids slow staling
The organic acids your levain produces lower the dough's pH, which slows down the starch retrogradation that makes bread go stale and firm. That is part of why a sourdough loaf is still good on day four when a fast yeasted loaf has gone dry.
Slower, deeper flavor
Wild yeast and bacteria work slower than commercial yeast, so a sourdough version trades a few hours of your time for a deeper, slightly tangy flavor and better keeping. The lean enrichments here, the milk and oil, ride right alongside that.
The Takeaway
A ripe levain plus time gives you a softer crumb that lasts longer. Patience is the ingredient.
Step 2
Mix and Fermentolyse
Bring it together, then let it rest
This is a : the levain goes in with the flour and liquid from the start, then rests before the salt. That rest hydrates the flour and gives the dough a head start on strength.
Click each step to mark complete
Combine and rest
In a large bowl, mix the ripe levain, flour, warm milk, water, and honey until no dry flour remains. Cover and rest for 30 to 45 minutes.
Add the salt
Sprinkle the salt over the dough and pinch and fold it in until it disappears. A splash of water on top helps it work in.
Work in the oil
Drizzle in the olive oil and work it through the dough. It will feel slippery and want to slide apart at first. Keep folding and pinching until it comes back together smooth. Develop with a few minutes of slap and folds, or 4 to 5 minutes in a mixer on medium-low.
Pro Tip
Adding oil after the dough has come together lets you build gluten first, then soften it. Dumping it in at the very start fights the structure you are trying to build.
Step 3
Bulk Fermentation
The first rise, with folds
Sourdough takes its time. The builds both the rise and the structure through a series of folds. Watch the dough, not the clock.
Click each step to mark complete
Fold in sets
Over the first 2 hours, give the dough 3 sets of spaced about 30 to 45 minutes apart. Each set: lift one side, stretch it up, fold it over the center, turn the bowl, repeat four times.
Rise until alive
After the folds, let the dough finish rising until it is about 50 to 75 percent larger, puffy, and jiggly, with a few bubbles at the surface and edges. At 76F (24C) the whole bulk usually runs 4 to 6 hours, longer in a cool kitchen.
⏱ Wait Time
4-6 hours
Pro Tip
Temperature runs this whole show. Warm speeds it up, cool slows it down. If your kitchen is cold, find a warmer spot or the rise will drag past bedtime.
Step 4
Shape the Loaf
Into the pan
Gentle keeps the air you built and sets up that even sandwich crumb. The full pan method is in the shaping section below.
Click each step to mark complete
Pre-shape and rest
Turn the dough onto a lightly floured counter, pat it into a rough rectangle, and let it rest 10 minutes so it relaxes.
Shape and pan
Roll it into a tight log the length of your pan, seam side down, and set it into a greased 8½ x 4½-inch loaf pan, tucking the ends under.
Pro Tip
Roll it snug and seal the seam as you go. A tight, even roll is what gives you sandwich slices that hold together instead of a crumb full of tunnels.
Shaping
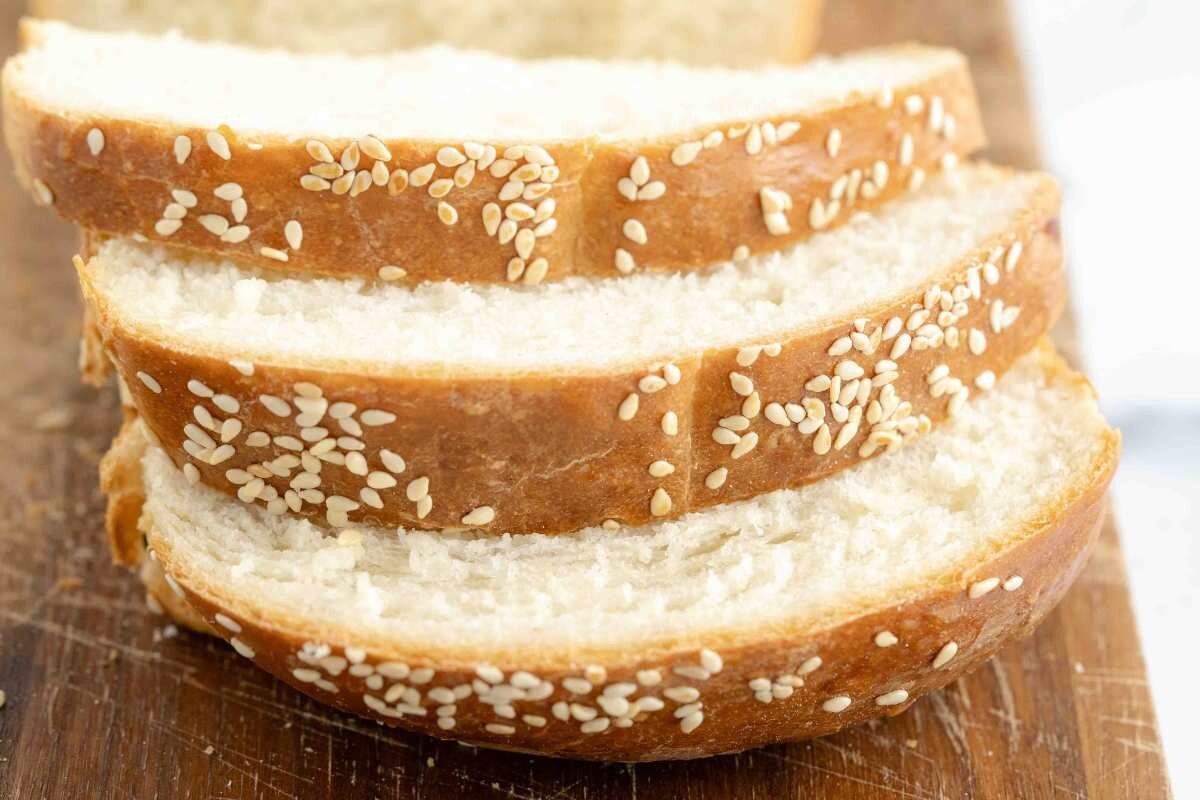
Shape the Sandwich Loaf
Built for sandwiches and toast, so the pan method is the one to reach for. The free-form option gives you a rustic Italian look if you would rather slice it on a board.
Pan Loaf
The everyday lunch loaf. Even slices, soft crust, perfect for stacking.
RecommendedClick each step to mark complete
Pat out
Pat the dough into a rectangle about as wide as your loaf pan is long.
Fold in
Fold the two short sides in toward the center so the width matches your pan.
Roll tight
Starting from the top, roll the dough down into a tight log, sealing as you go.
Pan it
Set the log seam side down in a greased 8½ x 4½-inch pan, tucking the ends under.
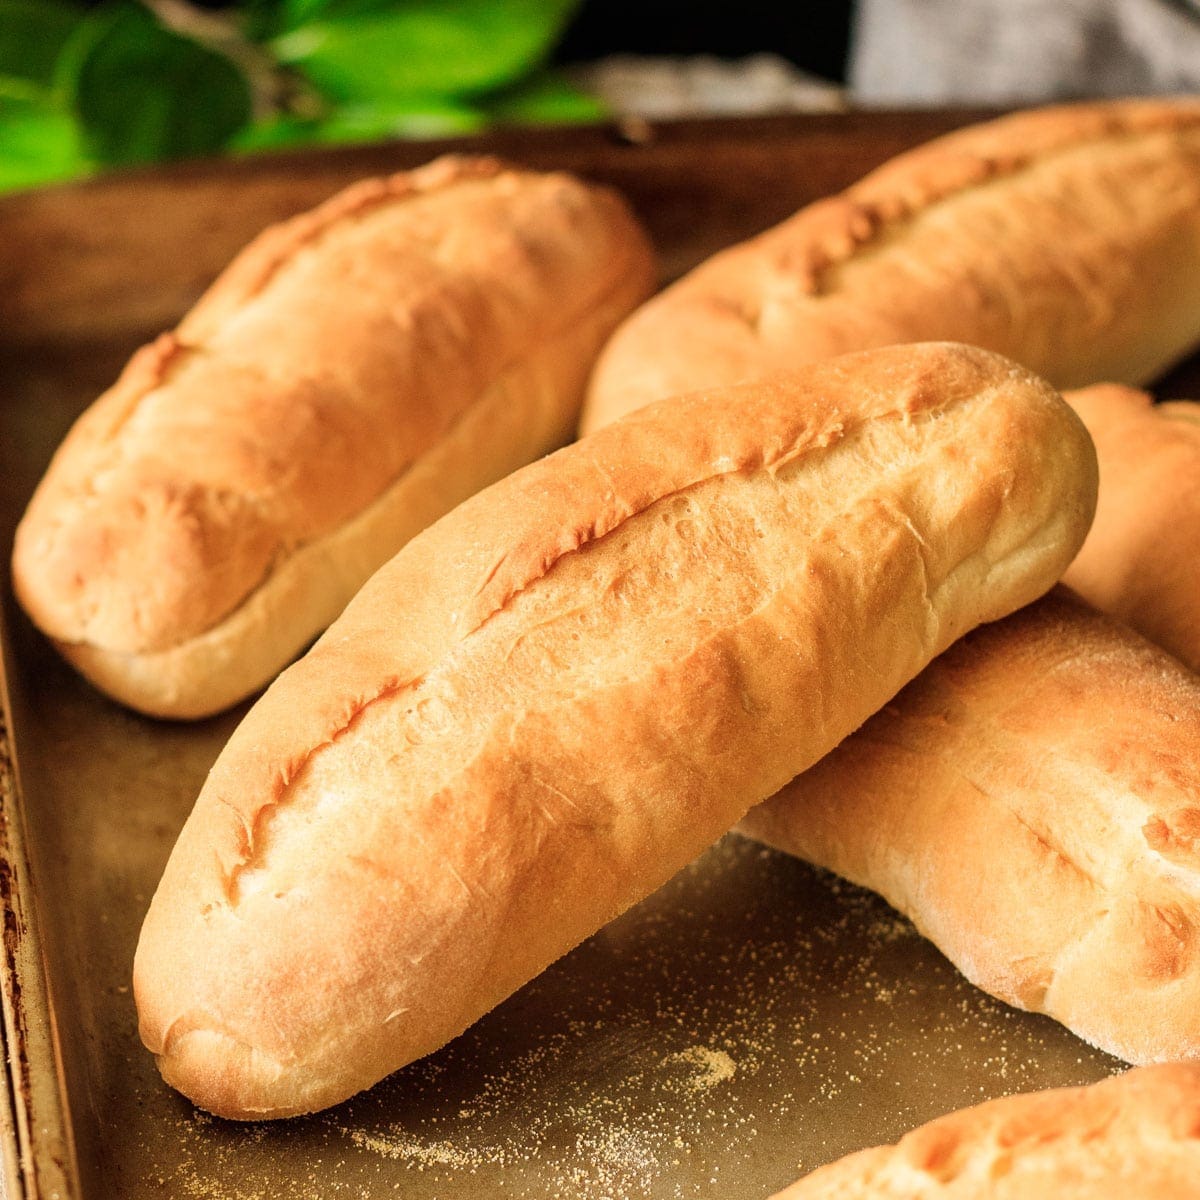
Free-Form Italian Loaf
A rustic filone shape for a more open, country look.
Click each step to mark complete
Shape a log
Roll the dough into a tapered log about 10 inches long, sealing the seam well.
Proof seam up
Proof it seam side up in a floured couche or banneton, then flip onto parchment and score before baking on a hot stone or steel.
Proof Test: Press the side of the proofed dough with a floured finger. A slow spring-back with a soft dent that fills in slowly means it is ready to bake.
Step 5
Final Proof
Counter or cold overnight
The final sets your texture. With sourdough you have got two good paths: finish it on the counter today, or slow it down overnight in the fridge with a for deeper flavor.
Click each step to mark complete
Same-day proof
Cover the pan and let it rise at room temperature until it crowns about 1 inch above the rim, roughly 1½ to 3 hours depending on your kitchen and how lively your starter is.
Or cold retard overnight
Cover the pan and refrigerate it overnight, up to about 14 hours. In the morning, let it finish on the counter until it crowns the pan, then bake.
Run the poke test
Use the : flour a finger and press the side gently. A slow spring-back that leaves a soft dent means it is ready. A fast spring-back means give it more time.
⏱ Wait Time
1½-3 hours
Pro Tip
Sourdough is easy to under-proof because folks get nervous and bake too soon. Let it actually crown the pan. The cold overnight path is the most forgiving way to nail the timing.
The Final Step
Bake
Honey and milk brown fast, so this bakes gentler than a crusty artisan sourdough. Watch the color and trust the internal temperature.
Baking Methods
The simplest path and the right one for a sandwich loaf. No Dutch oven needed.
Equipment: Greased 8½ x 4½-inch loaf pan
Preheat
Preheat the oven to 350F (175C) with a rack in the center.
Brush for soft crust
Brush the top lightly with a little milk for a soft, golden crust. Stays lean, no butter needed.
Bake
Bake 30 to 35 minutes, until deep golden and the internal temperature reads 195F (91C). Sourdough likes to be baked a few degrees higher inside than a yeasted loaf. If the top browns too fast, tent it loosely with foil.
Cool
Turn it out of the pan within a few minutes and cool it fully on a wire rack before slicing. A warm sourdough loaf cuts gummy. Give it at least an hour.
"The thermometer is your truth. Color says it is close, but 195F (91C) in the center of a pan loaf says it is done."
Nutrition Facts
Per 1 slice • 12 servings per recipe
* Values are estimates based on standard ingredients
Storage
Room Temperature
4 to 5 days in a bread bag or wrapped in cloth. The sourdough acids plus the olive oil and milk keep this one soft longer than the yeasted version.
Refrigerated
Skip the fridge. It stales bread faster, not slower.
Frozen
Up to 3 months. Slice it first, then freeze, so you can pull out exactly what you need.
Refresh
Toast slices straight from frozen, or warm the whole loaf at 350F (175C) for 8 to 10 minutes.
Your Feedback
Rate This Recipe
Loading ratings...
Troubleshooting
Baker's Notes
Common questions and solutions for perfect results

If you're serious about scoring, you need the right blade in your hand. Wire Monkey makes handcrafted bread lames from black walnut — built to last, balanced in the hand, and sharp enough to glide through cold dough cleanly every single time. No dragging, no hesitation marks. Just a clean cut.
Wire Monkey Handcrafted Bread Lames
You Might Also Enjoy
More recipes from our pantry that pair well with this bake.
Get More Recipes in Your Inbox
Join thousands of home bakers receiving weekly recipes, tips, and techniques to elevate your bread game.
No spam, ever. Unsubscribe anytime.
More from Baking Great Bread at Home
Tools, resources, and community to help you bake better bread

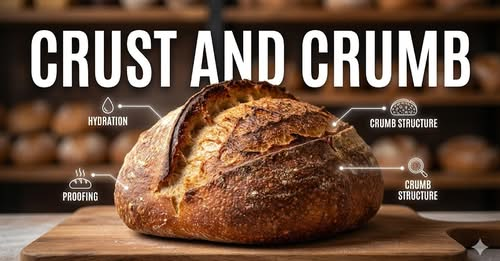
Crust & Crumb Academy
Go deeper into your craft. FREE courses, challenges, and real feedback. No gatekeeping. Perfection is not required.
Sourdough Starter Companion
Your AI-powered starter assistant. Track feedings, troubleshoot issues, and keep your starter thriving.

Fermentation Compass
Stop guessing when bulk fermentation is finished. Read your dough. Nail your bake.

BakingGreatBread.com
Real bread for the rest of us

Baking Great Bread Blog
Recipes, tips, and stories from the bread journey
Recipe Converter
Convert sourdough recipes to yeast and back again
Crust & Crumb App
Your AI-powered baking assistant

Facebook Community
Join 50,000+ bakers sharing, learning, and supporting each other
Sourdough for the Rest of Us
Free beginner's guide to sourdough