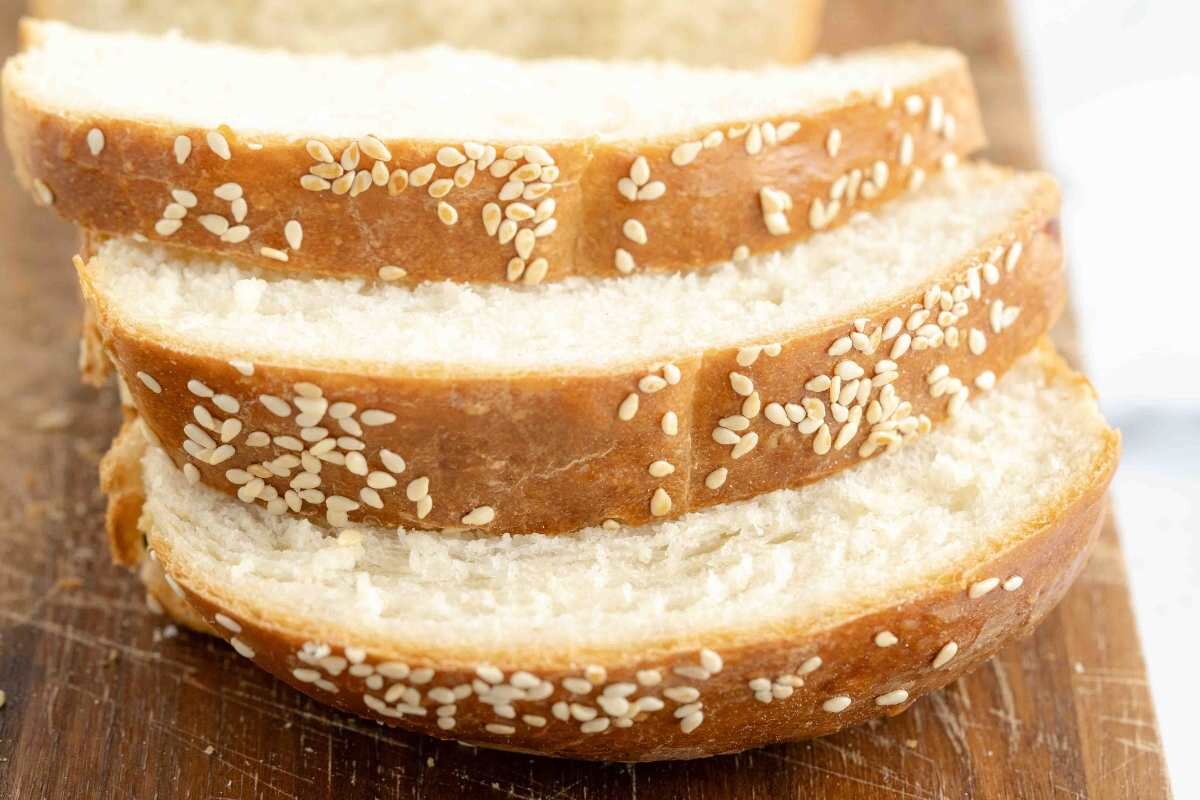
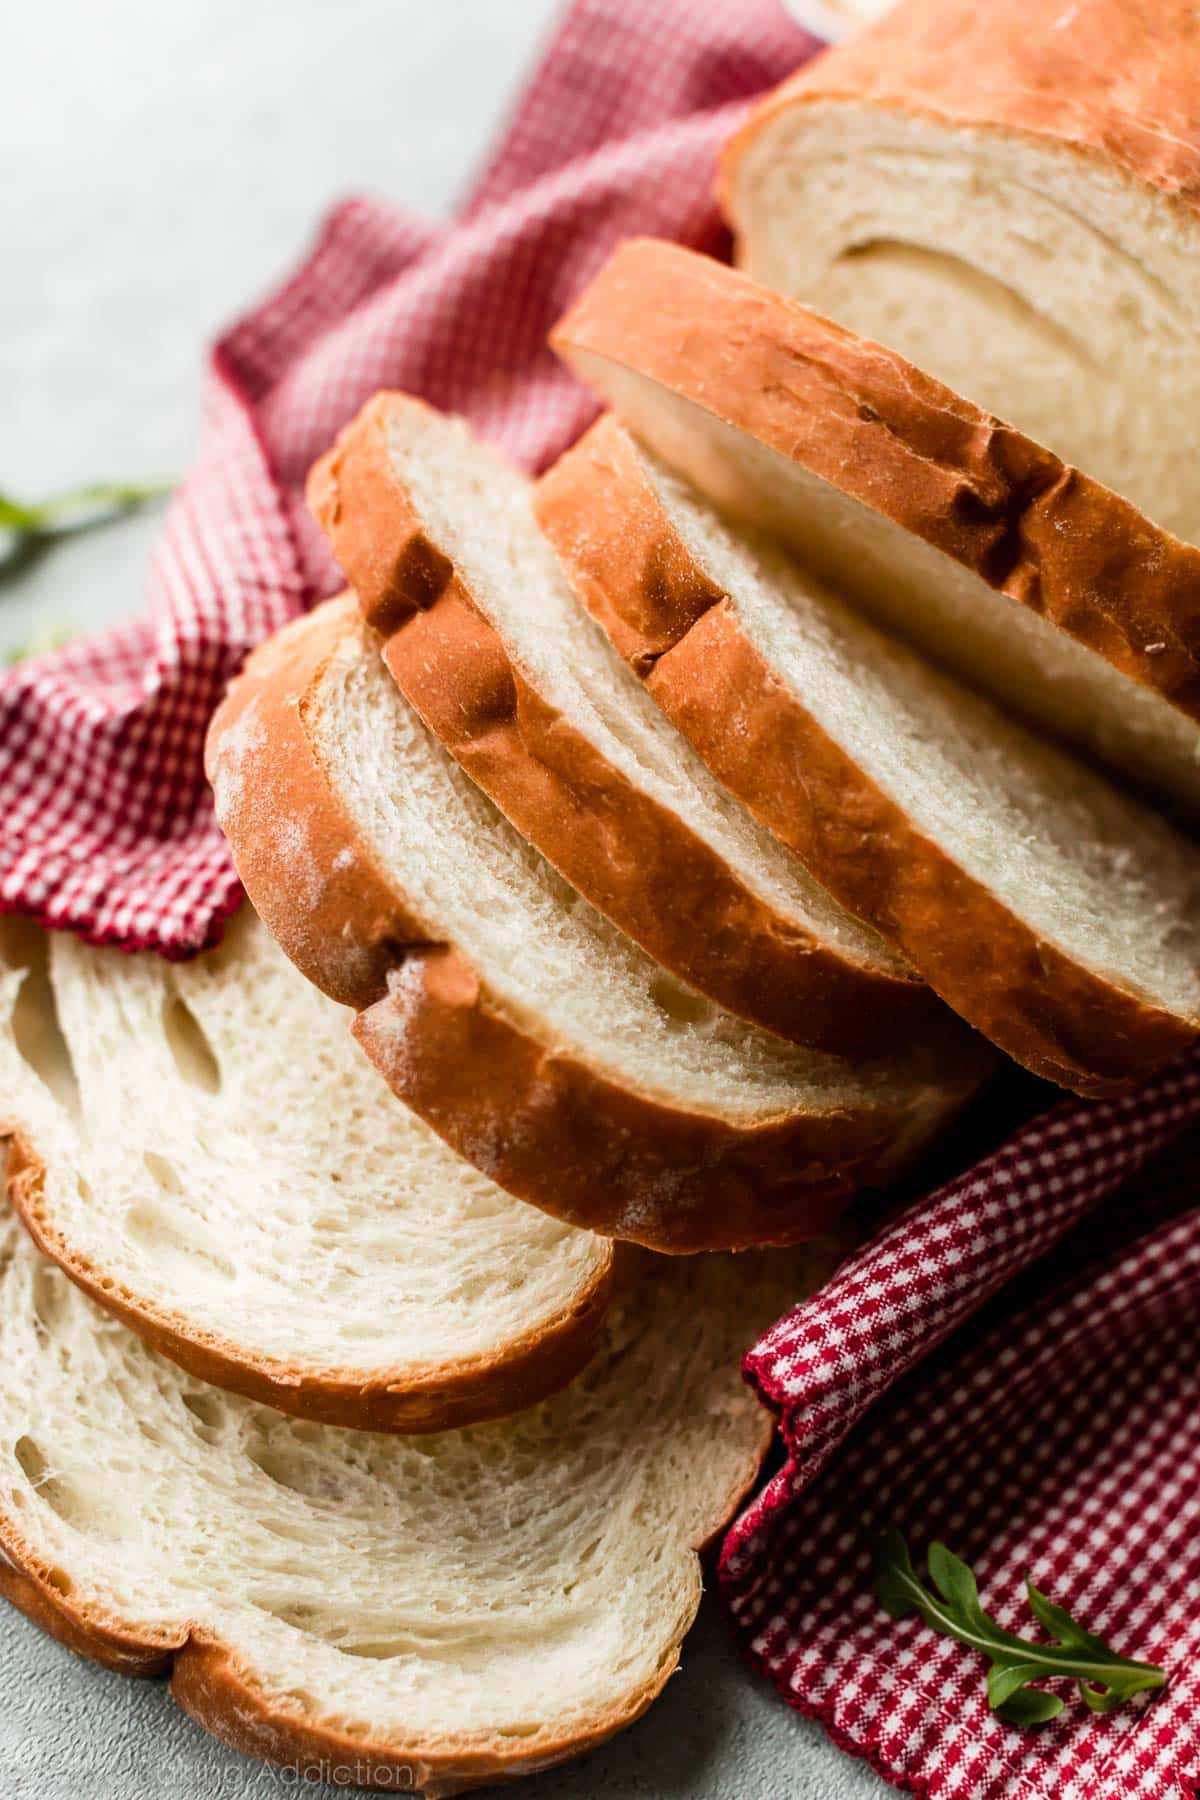
A Lean Loaf with Honey, Olive Oil, and Milk
IntermediateSoft Italian SandwichBread
by Henry Hunter Jr.
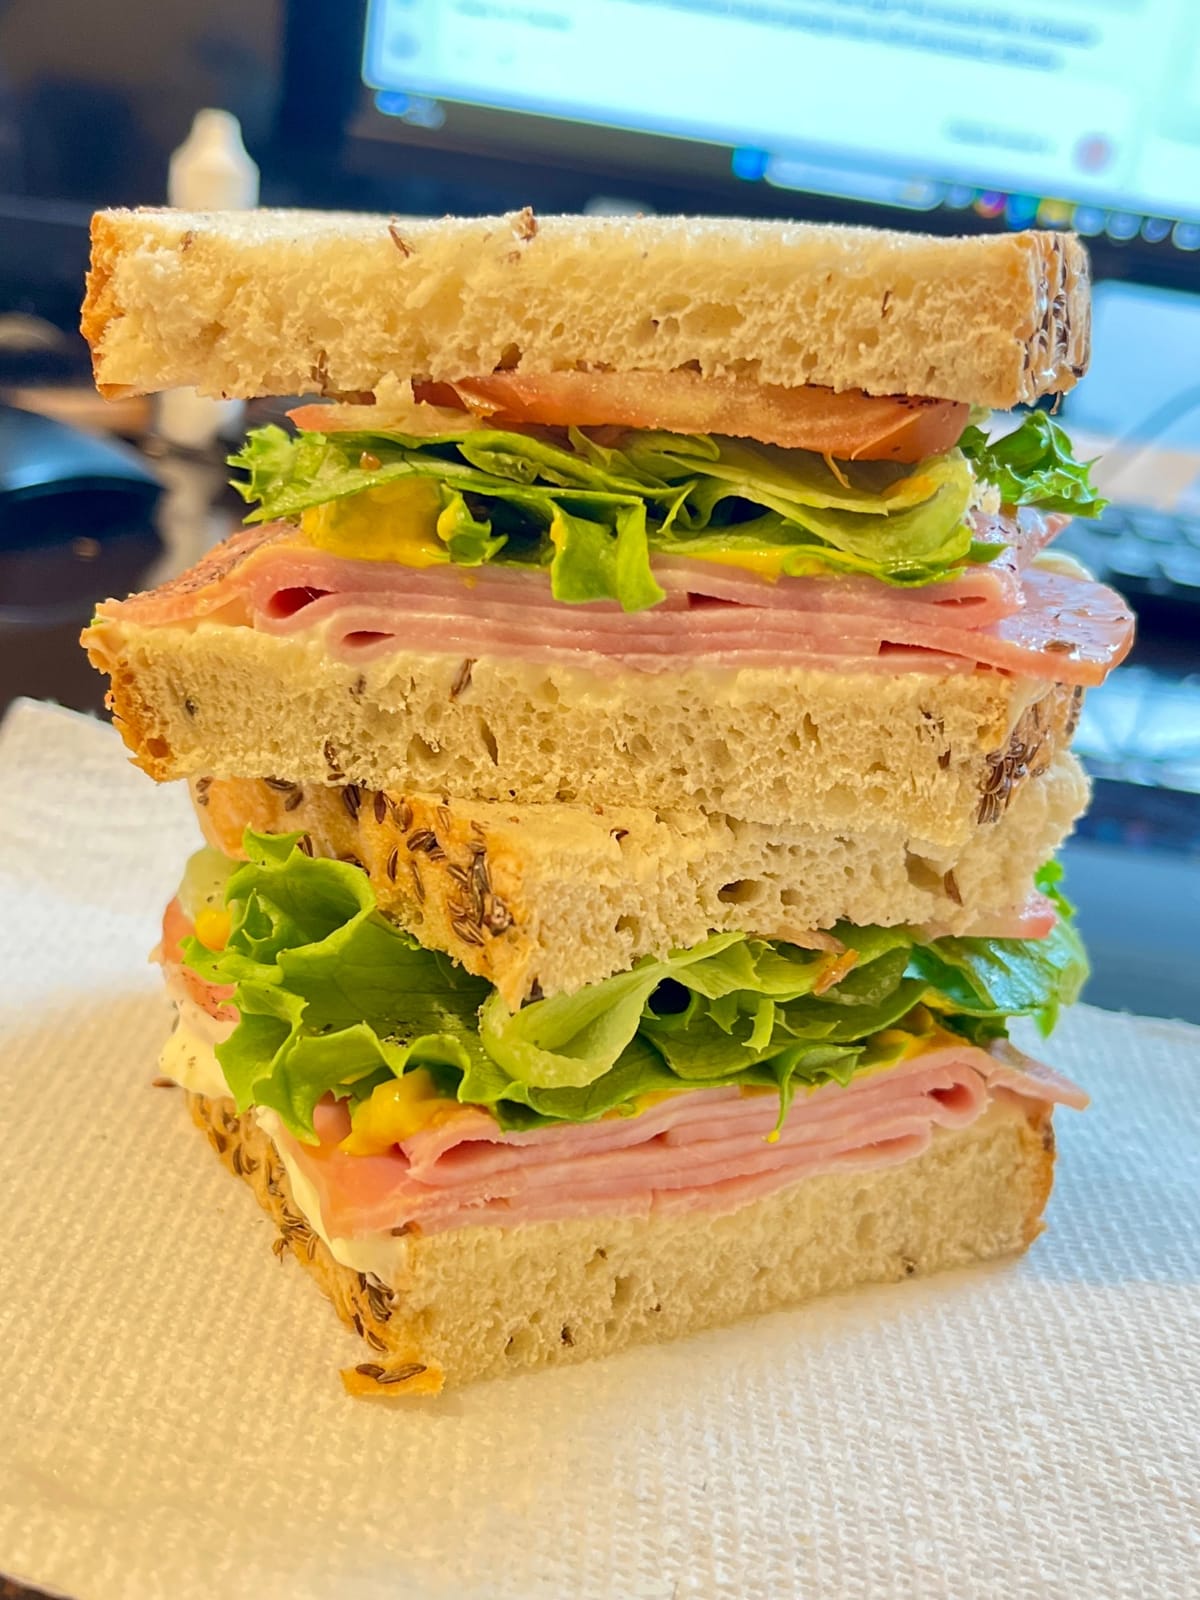
The everyday lunch loaf.
Fermentation
4-12 hours sponge, then 2-3 hours bulk
Bake Time
30-35 minutes
Yield
One 8½ x 4½-inch loaf, about 12 slices

Perfection is not required
"Perfection is not required. Progress is."— Henry Hunter Jr.
By Henry Hunter Jr., founder of Crust & Crumb Academy and Baking Great Bread at Home.
Authentic Flavor
This one started as a member's request: her boyfriend loved her rich, buttery, egg-heavy sandwich bread but wanted a leaner version for his weekday lunches, made with honey, olive oil, and milk. She had the formula nearly perfect before she ever asked. All I did was write it down and tighten the timing. That is the kind of baker this community grows.
Equipment Needed
For precise weights
Optional, you can mix by hand
A 9x5 works too
Ingredients
The Sponge
Mix this first. It is half your flour, fermented slow and low for flavor.
The Final Dough
Everything else goes in once the sponge has peaked. No extra yeast.
Pro Tip
Weigh everything. The volumes are here as a backup, but 12g of honey and 12g of salt look nothing alike on a spoon. The scale keeps you honest.
Step 1
Build the Sponge
Half the flour, a whisper of yeast, and time
The is where the flavor comes from. You are using just a quarter teaspoon of yeast and letting it work slow, the same way a long counter ferment builds taste without sourness.
Click each step to mark complete
Mix the sponge
Stir the flour, water, and yeast together in a bowl until no dry flour remains. It will be a thick, shaggy paste. Cover it.
Ferment until it peaks
Let it sit at around 76°F (24°C) until it is domed, bubbly across the top, and just starting to recede in the center. That is peak. In a warm kitchen this can be 4 to 6 hours. Cooler, it can stretch to 10 or 12. You have got room to roam here.
⏱ Wait Time
4-12 hours
Pro Tip
If you want to start this at night and bake in the morning, drop the water temperature a touch and let the cool kitchen slow it down. Peak sponge in the morning is a beautiful thing.
Flavor needs time
Yeast makes gas fast, but flavor comes from the slow work of fermentation: organic acids, alcohols, and the breakdown of starches into sweeter, more complex sugars. A small dose of yeast over a long ferment gives time the room to do that work. A big dose rushing the rise skips right past it.
A more extensible dough
That long sponge also relaxes the gluten and starts breaking down the flour, which gives you a dough that shapes easier and a crumb that stays soft longer. This is the same principle behind a good Italian biga.
The Takeaway
Low yeast plus time equals flavor and keeping quality. You are trading speed for a better loaf.
Step 2
Mix the Final Dough
Bring in the milk, oil, honey, and salt
Now the lean enrichments go in. The milk and olive oil keep this tender, the honey gives it color and a hint of sweetness, and not a drop of extra yeast is needed. The sponge has plenty.
Click each step to mark complete
Loosen the sponge
Add the warm milk and honey to the bowl of sponge and stir to loosen it into a soupy batter. Warm milk wakes the sponge back up and helps the honey dissolve.
Add flour and salt
Add the remaining bread flour and the salt. Mix until it comes together into a shaggy dough with no dry patches.
Work in the oil, then knead
Drizzle in the olive oil and keep mixing until it disappears into the dough. Knead by hand for 8 to 10 minutes, or in a stand mixer on medium-low for 5 to 7, until the dough is smooth and passes the . Oil added after the flour hydrates means you build strength first, then soften it.
Pro Tip
This dough firms up as it kneads. If it feels a little tacky early on, give it a few more minutes before you reach for extra flour. The milk and oil need time to settle in.
Precise Timers
Use these interactive timers to track your stages.
Hand kneading
Step 3
Bulk Fermentation
The first rise
Let the build structure and a little more flavor. With this low yeast you are watching the dough, not the clock.
Click each step to mark complete
Rest and rise
Shape the dough into a loose ball, place it in a lightly oiled bowl, and cover. Let it rise at room temperature until it is about 50 to 75 percent larger and feels airy and alive, roughly 2 to 3 hours at 76°F (24°C).
Give it one fold
About halfway through, do a single set of stretch and folds right in the bowl: lift one side of the dough, stretch it up, and fold it over the center. Turn the bowl and repeat four times. This tightens the dough without knocking the air out.
⏱ Wait Time
2-3 hours
Pro Tip
Warmth is your dial. If your kitchen runs cool and the rise is crawling, set the bowl somewhere warmer like an oven with just the light on. If it is racing, move it somewhere cooler.
Step 4
Shape the Loaf
Into the pan it goes
Gentle keeps the air you worked for and gives you that even, sliceable sandwich crumb. See the shaping section below for the full pan method.
Click each step to mark complete
Pre-shape and rest
Turn the dough onto a lightly floured counter. Pat it into a rough rectangle, then let it rest 5 to 10 minutes so the gluten relaxes and it stops fighting you.
Shape and pan
Roll it into a tight log the length of your pan, seam side down, and set it into a greased 8½ x 4½-inch loaf pan. Tuck the ends under so it sits evenly.
Pro Tip
Roll it snug, not crushing. A loose roll leaves big holes that your sandwich filling will fall through. A tight, even roll gives you that bakery sandwich crumb.
Shaping
Shape the Sandwich Loaf
This loaf is built for sandwiches and toast, so the pan method is the one to reach for. The free-form option is here if you would rather have a rustic Italian look on the cutting board.
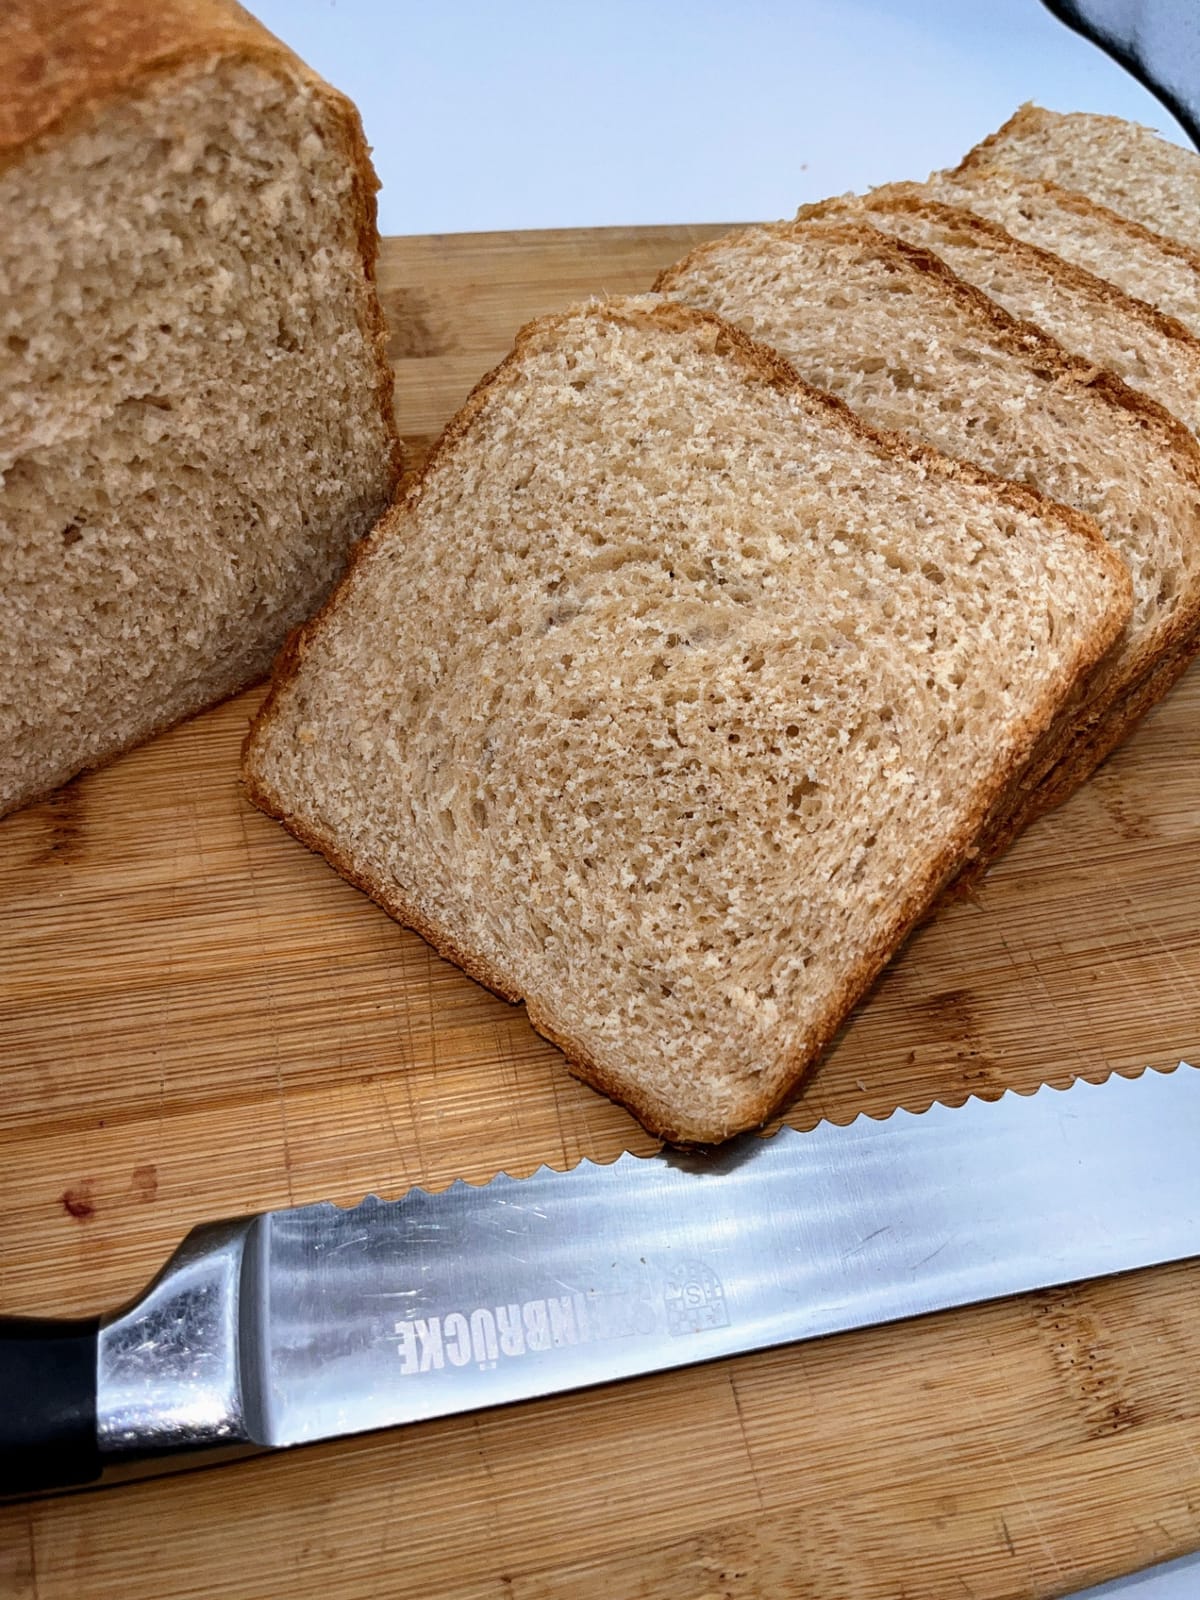
Pan Loaf
The everyday lunch loaf. Even slices, soft crust, perfect for stacking.
RecommendedClick each step to mark complete
Pat out
Pat the dough into a rectangle about as wide as your loaf pan is long.
Fold in
Fold the two short sides in toward the center so the width matches your pan.
Roll tight
Starting from the top, roll the dough down into a tight log, sealing as you go.
Pan it
Set the log seam side down in a greased 8½ x 4½-inch pan, tucking the ends under.
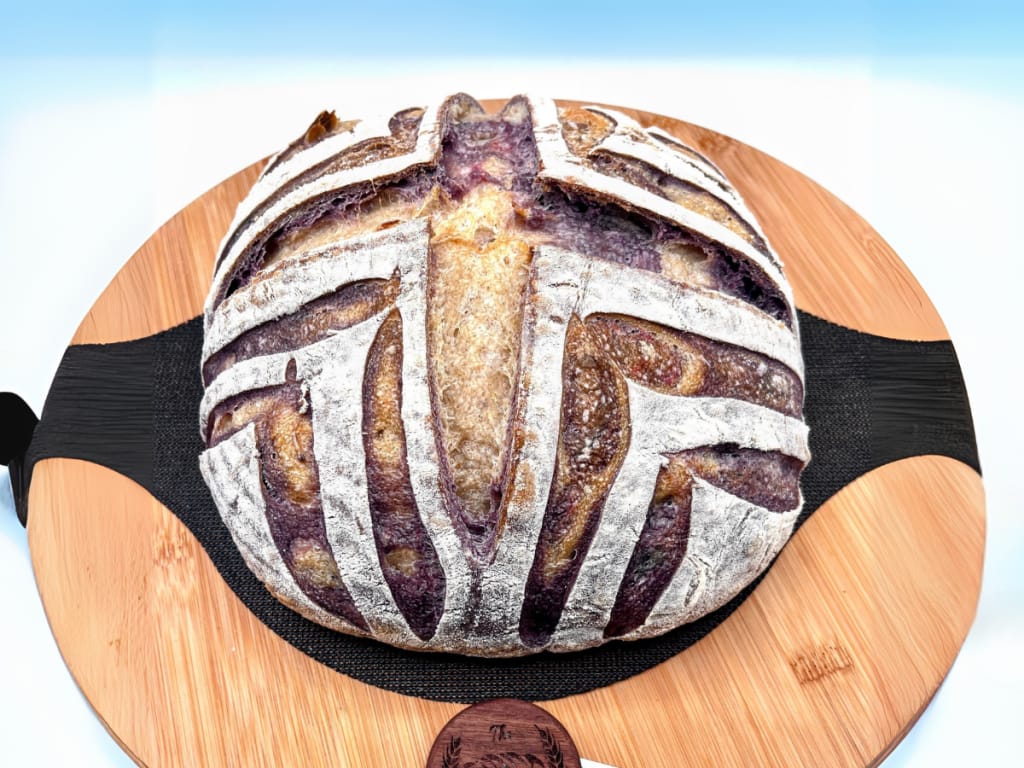
Free-Form Italian Loaf
A rustic filone shape for a more open, country look.
Click each step to mark complete
Shape a log
Roll the dough into a tapered log about 10 inches long, sealing the seam well.
Proof on a couche or tray
Set it seam side down on a floured couche or parchment-lined tray to proof, then bake on a stone or steel for a crisper bottom.
Proof Test: Press the side of the proofed dough with a floured finger. A slow spring-back with a soft dent that fills in means it is ready to bake.
Step 5
Final Proof
Until it crowns the pan
The last rise, called , is the one that sets your final texture. Use the so you do not under or over do it.
Click each step to mark complete
Proof until crowned
Cover the pan and let the loaf rise until it domes about 1 inch above the rim, roughly 1½ to 2½ hours depending on your kitchen.
Run the poke test
Flour a finger and press the side of the dough gently. If it springs back slowly and leaves a soft dent, it is ready. If it springs back fast, give it more time. If your finger leaves a dent that does not move at all, it is over and you should bake it now.
⏱ Wait Time
1½-2½ hours
Pro Tip
Start preheating the oven when the loaf is close, so it is fully hot the moment your dough is ready. Do not let a perfectly proofed loaf sit waiting on a cold oven.
The Final Step
Bake
Honey and milk both brown fast, so this bakes at a gentler temperature than a crusty artisan loaf. Watch the color and lean on the internal temperature.
Baking Methods
The simplest path, and the right one for a sandwich loaf. No Dutch oven needed.
Equipment: Greased 8½ x 4½-inch loaf pan
Preheat
Preheat the oven to 350°F (175°C) with a rack in the center.
Brush for soft crust
Brush the top of the loaf lightly with a little milk for a soft, golden crust. This stays lean, no butter required.
Bake
Bake for 30 to 35 minutes, until deep golden on top and the internal temperature reads 190°F (88°C). If it is browning too fast before it is done inside, tent it loosely with foil.
Cool
Turn the loaf out of the pan within a few minutes and cool it fully on a wire rack before slicing. Cutting it warm gums up the crumb. I know it is hard. Wait anyway.
"The thermometer is the only honest way to know a loaf is done. Color tells you it is close. 190°F (88°C) in the center tells you it is finished."
Nutrition Facts
Per 1 slice • 12 servings per recipe
* Values are estimates based on standard ingredients
Storage
Room Temperature
3 to 4 days in a bread bag or wrapped in a clean cloth. The olive oil and milk keep it soft longer than a lean water loaf.
Refrigerated
Skip the fridge. It stales bread faster, not slower.
Frozen
Up to 3 months. Slice it first, then freeze, so you can pull out exactly what you need.
Refresh
Toast slices straight from frozen, or warm the whole loaf at 350°F (175°C) for 8 to 10 minutes to bring it back.
Your Feedback
Rate This Recipe
Loading ratings...
Troubleshooting
Baker's Notes
Common questions and solutions for perfect results

If you're serious about scoring, you need the right blade in your hand. Wire Monkey makes handcrafted bread lames from black walnut — built to last, balanced in the hand, and sharp enough to glide through cold dough cleanly every single time. No dragging, no hesitation marks. Just a clean cut.
Wire Monkey Handcrafted Bread Lames
You Might Also Enjoy
More recipes from our pantry that pair well with this bake.
Get More Recipes in Your Inbox
Join thousands of home bakers receiving weekly recipes, tips, and techniques to elevate your bread game.
No spam, ever. Unsubscribe anytime.
More from Baking Great Bread at Home
Tools, resources, and community to help you bake better bread

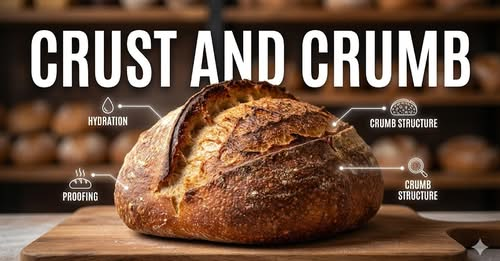
Crust & Crumb Academy
Go deeper into your craft. FREE courses, challenges, and real feedback. No gatekeeping. Perfection is not required.
Sourdough Starter Companion
Your AI-powered starter assistant. Track feedings, troubleshoot issues, and keep your starter thriving.

Fermentation Compass
Stop guessing when bulk fermentation is finished. Read your dough. Nail your bake.

BakingGreatBread.com
Real bread for the rest of us

Baking Great Bread Blog
Recipes, tips, and stories from the bread journey
Recipe Converter
Convert sourdough recipes to yeast and back again
Crust & Crumb App
Your AI-powered baking assistant
Facebook Community
Join 50,000+ bakers sharing, learning, and supporting each other
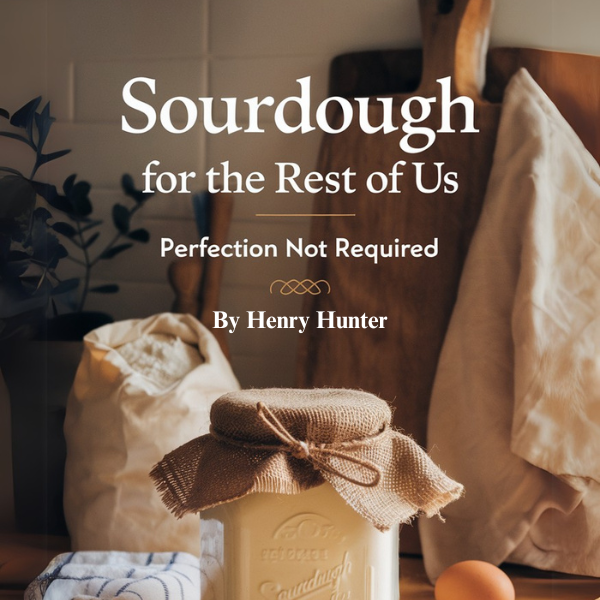
Sourdough for the Rest of Us
Free beginner's guide to sourdough