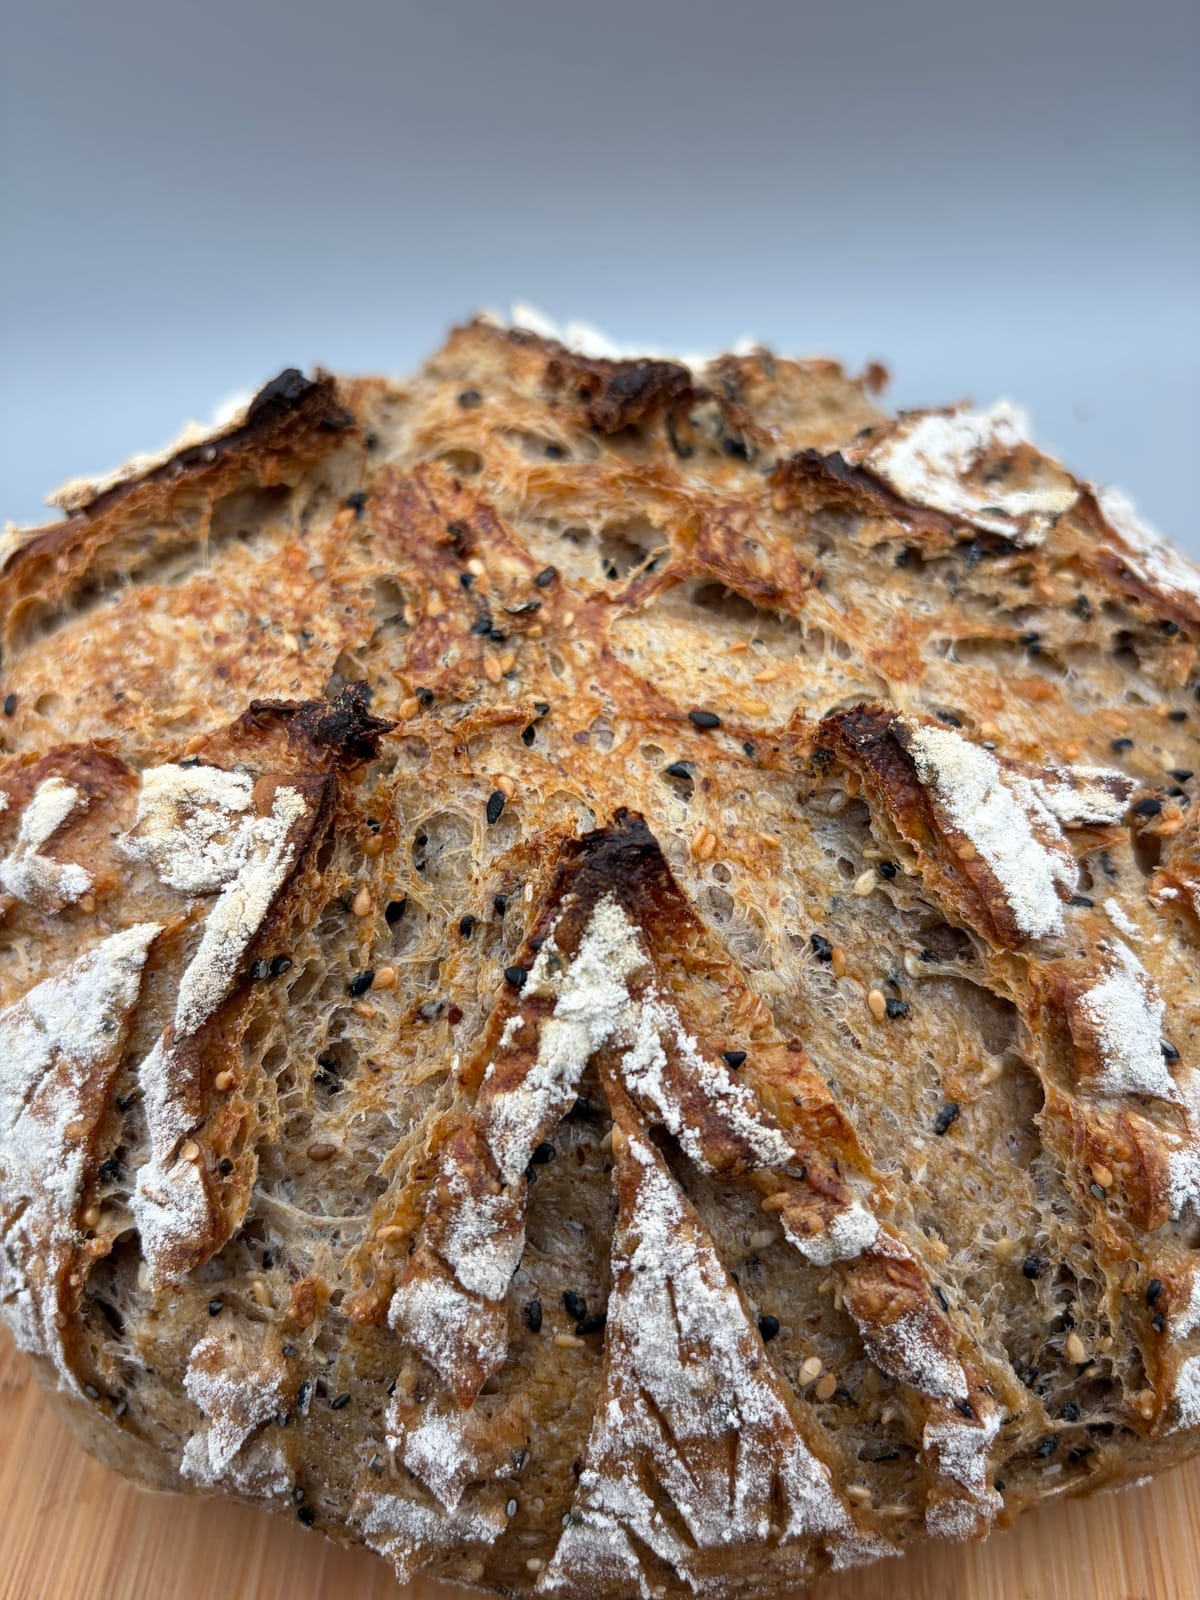
The Foolproof Loaf — leveled up with whole wheat, flax, and sesame
IntermediateHenry's Foolproof Whole Wheat SeededSourdough
by Henry Hunter Jr.
More flavor. More nutrition. Same foolproof process.
Fermentation
12-16 hours (overnight)
Bake Time
45-50 minutes
Yield
Serves 10-12

Perfection is not required
"Perfection is not required. Progress is."— Henry Hunter Jr.
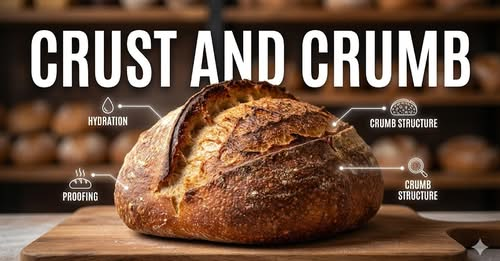
By Henry Hunter Jr., founder of Crust & Crumb Academy and Baking Great Bread at Home.
Authentic Flavor
This loaf came out of a Saturday bake-along experiment — taking the Foolproof formula I've baked hundreds of times and pushing it somewhere new. The whole wheat adds depth, the seeds add crunch, and the overnight fermentolyse ties it all together. It's become one of my personal favorites.
Equipment Needed
Ingredients
The Dough
Seeds & Inclusions
Added after salt incorporation. These add crunch, flavor, and nutrition without affecting the dough structure.
Pro Tip
The whole wheat flour absorbs more water than bread flour, which is why this recipe runs at 79% hydration instead of the standard 75%. Don't reduce the water — the dough needs it.
Night Before
Overnight Fermentolyse
This is what sets this loaf apart. Mixing the flour, water, and together and letting them rest overnight gives you flavor development and gluten structure before you've done a single fold. The whole wheat flour especially benefits from a long rest.
Click each step to mark complete
Combine flour and water
In a large bowl, combine the bread flour and whole wheat flour. Add the water and mix until no dry flour remains. It'll look rough and shaggy — that's fine.
Add the starter
Add your active starter and mix it in thoroughly using your hands or a dough whisk. Squeeze and fold until the starter is fully incorporated.
Cover and rest overnight
Cover the bowl tightly with plastic wrap or a shower cap. Leave at room temperature (68-72°F / 20-22°C) for 12 to 16 hours. You're looking for the dough to smooth out significantly and show small bubbles by morning.
⏱ Wait Time
12-16 hours
Pro Tip
If your kitchen runs warm (above 75°F / 24°C), reduce to a 10-12 hour rest or move the bowl to a cooler spot after the first 2 hours.
The difference from a standard autolyse
A standard autolyse is just flour and water resting for 30-60 minutes. Fermentolyse adds the starter, so fermentation begins immediately. Over 12-16 hours, the naturally occurring acids in the starter pre-digest some of the starches and proteins, leading to better flavor, more extensible gluten, and easier shaping.
What the whole wheat is doing overnight
Whole wheat bran has sharp edges that cut gluten strands. Giving it a long soak softens the bran and allows it to integrate more smoothly into the dough matrix. The result is a more cohesive dough with better structure than if you used whole wheat in a same-day bake.
The Takeaway
The overnight rest is doing most of the work for you. Don't rush it.
Morning
Add Salt and Seeds
Cold dough straight from a cool overnight rest is totally fine to work with. It'll be stiffer than usual but warms up fast as you work it. No need to bring it to room temperature first.
Click each step to mark complete
Add the salt
Sprinkle the salt over the dough. Use the pinch-and-fold method: pinch the salt into the dough, fold, rotate, repeat for about 2 minutes until the salt is fully incorporated and the dough starts to come together.
Add the seeds
Scatter the ground flaxseed, black sesame, and white sesame over the dough. Fold and press them in using the same pinch-and-fold motion. Take your time — you want even distribution throughout the dough, not pockets of seeds.
Rest
Cover the bowl and let the dough rest for 30 minutes before your first fold. This gives the gluten a chance to relax after all that handling.
⏱ Wait Time
30 minutes
Pro Tip
Ground flaxseed absorbs water and adds body. Whole seeds would work too, but ground integrates better and delivers more omega-3 benefit.
Bulk Fermentation
Bulk Fermentation and Coil Folds
Because the did a lot of overnight work, your here is shorter than a traditional same-day sourdough. You're looking for a 50-75% rise, not a full double.
Click each step to mark complete
First coil fold
Wet your hands. Reach under the dough, lift the center, and let gravity fold it down onto itself. Rotate the bowl 90 degrees and repeat until you've gone all the way around. That's one set of .
Repeat every 45 minutes
Perform 3 more sets of coil folds, one every 45 minutes. By the third or fourth fold you'll feel the dough tighten up and hold its shape better. That's gluten development happening in real time.
Watch for signs of readiness
The dough is ready when it has risen 50-75%, feels airy and slightly jiggly when you shake the bowl, and the surface shows a domed shape with visible bubbles around the edges. Don't chase a full double — you'll overproof it.
⏱ Wait Time
3-4 hours
The temperature rule
Fermentation speed is directly tied to dough temperature. At 72°F (22°C), bulk takes about 3-4 hours. At 68°F (20°C), budget 4-5 hours. At 78°F (26°C), you might be done in 2.5 hours. Watch the dough, not the clock.
The Takeaway
Use the visual and tactile cues — rise, jiggle, bubbles — not just the timer.
Precise Timers
Use these interactive timers to track your stages.
First coil fold
Second coil fold
Third coil fold
Fourth coil fold
Pre-Shape
Pre-Shape
A quick pre-shape builds the surface tension the loaf needs to hold its form through proofing and baking.
Click each step to mark complete
Turn out the dough
Lightly flour your work surface. Gently turn the dough out of the bowl — don't punch it down or degas it.
Pre-shape into a round
Using your bench scraper and your free hand, drag the dough toward you across the surface in a circular motion to build tension on the underside. You want a tight, smooth ball with the seam on the bottom.
Bench rest
Leave the pre-shaped round on the bench, uncovered, for 20-30 minutes. It'll relax and spread slightly. That's correct.
⏱ Wait Time
20-30 minutes
Final Shape
Final Shape
Final shaping sets the structure of the loaf. Take your time here — this is where a great crust and good oven spring start.
Click each step to mark complete
Shape into a batard or boule
Flip the dough so the smooth side faces down. Fold the top third toward the center, then the bottom third up over it (like a letter). Then roll it toward you to create a tight log (batard) or use cupped hands to drag it into a round (boule). Either shape works well for this dough.
Transfer to banneton
Dust your banneton well with rice flour or a mix of rice flour and bread flour. Place the dough seam-side UP in the banneton. Cover with plastic wrap or a shower cap.
Pro Tip
This dough handles beautifully after the overnight fermentolyse. The seeds may cause minor tearing during shaping — just smooth the surface as best you can. It won't affect the final result.
Shaping
Shape Your Loaf
Both shapes work well for this dough. The batard gives you a longer scoring canvas. The boule gives you a dramatic round presentation.
Batard (Oval)
RecommendedClick each step to mark complete
Fold and roll
Fold top third down, bottom third up, then roll toward you into a tight oval log. Place seam-side up in a floured oval banneton.
Boule (Round)
Click each step to mark complete
Cup and drag
Use cupped hands to rotate and drag the dough toward you until a tight round forms. Place seam-side up in a floured round banneton.
Proof Test: Poke the dough with a floured finger. If it springs back slowly and only partially fills the indent, it's ready to bake.
Cold Proof
Cold Proof (Overnight in Fridge)
A cold in the refrigerator slows fermentation to a crawl, develops deeper flavor, and firms up the dough so it's much easier to score cleanly.
Click each step to mark complete
Refrigerate
Place the covered banneton in the refrigerator for 8-16 hours. The dough can go straight from fridge to oven — no need to temper it.
⏱ Wait Time
8-16 hours
Bake Day
Preheat and Score
A fully preheated Dutch oven is non-negotiable. You need that initial blast of trapped steam for oven spring and crust development.
Step by Step
Preheat the Dutch oven
Place your Dutch oven (lid on) in a cold oven. Set to 500°F (260°C). Preheat for a full 45-60 minutes. Don't shortcut this step.
Turn out and score
Cut a piece of parchment to fit your Dutch oven. Turn the dough out of the banneton onto the parchment, seam-side DOWN. Score immediately with your — a single confident slash at a 30-45 degree angle, or your pattern of choice. The dough is cold, so scoring will be clean and easy.
Dutch Oven Preheat
The sesame seeds on the surface (if you dust the banneton with them) will toast beautifully during the bake. You can also press a few seeds onto the scored surface before it goes in the oven.
Baking Methods
Equipment: Dutch oven with lid (https://challengerbreadware.com/?ref=henryhunterjr)
Load the dough
Carefully lower the dough on parchment into the screaming hot Dutch oven. Score if you haven't already. Put the lid on.
Bake covered at 500°F (260°C)
Bake with the lid on for 20 minutes. Don't peek.
Remove lid, reduce heat
Remove the lid. Reduce oven temperature to 450°F (230°C). Bake for an additional 25-30 minutes until the crust is deep brown and the internal temperature reads 205-210°F (96-99°C).
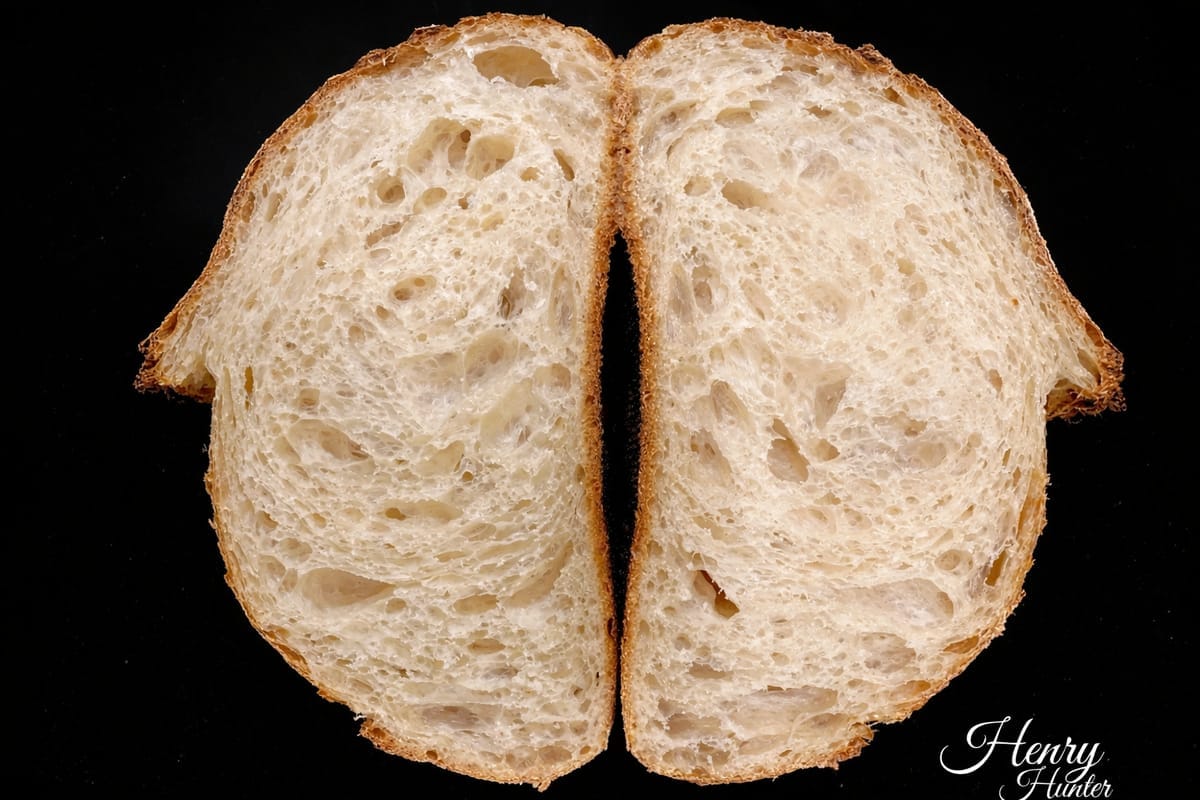
Cool on a wire rack
Remove the loaf from the Dutch oven and place on a wire rack. Wait at least 1 hour before slicing. The crumb is still setting up inside.
"The whole wheat and sesame seeds mean this loaf browns faster than an all-white sourdough. Watch it closely after the lid comes off. If the crust is getting too dark before the internal temp hits 205°F (96°C), tent loosely with foil."
Nutrition Facts
Per 1 slice (approximately 60g) • 12 servings per recipe
* Values are estimates based on standard ingredients
Storage
Room Temperature
2-3 days wrapped in a clean kitchen towel or bread bag. The seeds keep it moist longer than a plain white sourdough.
Refrigerated
Not recommended. Refrigeration accelerates staling.
Frozen
Up to 3 months. Slice before freezing for easier portioning.
Refresh
Toast slices directly from frozen, or warm a whole loaf at 350°F (175°C) for 10-12 minutes.
💡 Warm slices at 350°F (175°C) for 8-10 minutes, or toast directly from frozen.
Your Feedback
Rate This Recipe
Loading ratings...
Troubleshooting
Baker's Notes
Common questions and solutions for perfect results

If you're serious about scoring, you need the right blade in your hand. Wire Monkey makes handcrafted bread lames from black walnut — built to last, balanced in the hand, and sharp enough to glide through cold dough cleanly every single time. No dragging, no hesitation marks. Just a clean cut.
Wire Monkey Handcrafted Bread Lames
You Might Also Enjoy
More recipes from our pantry that pair well with this bake.
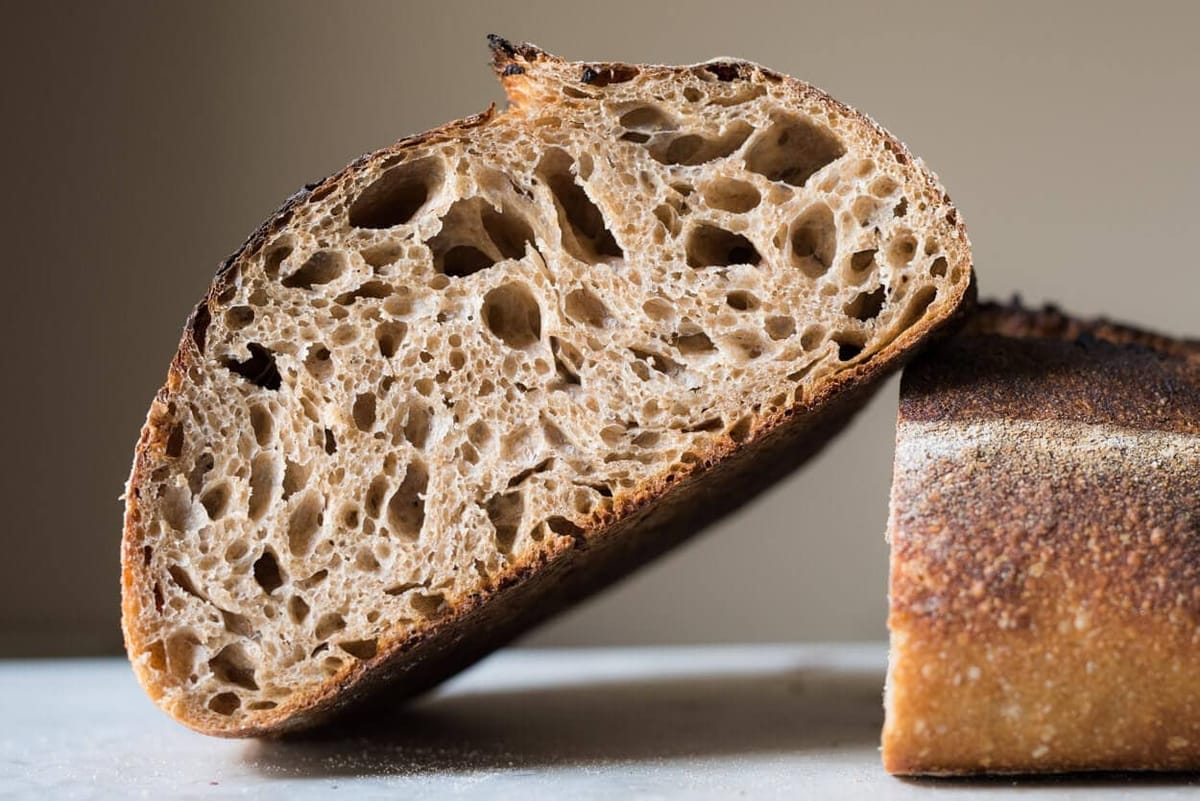
Henry's Foolproof Sourdough Loaf
Henry's Foolproof Whole Wheat Sourdough
Buckwheat Sourdough Bread
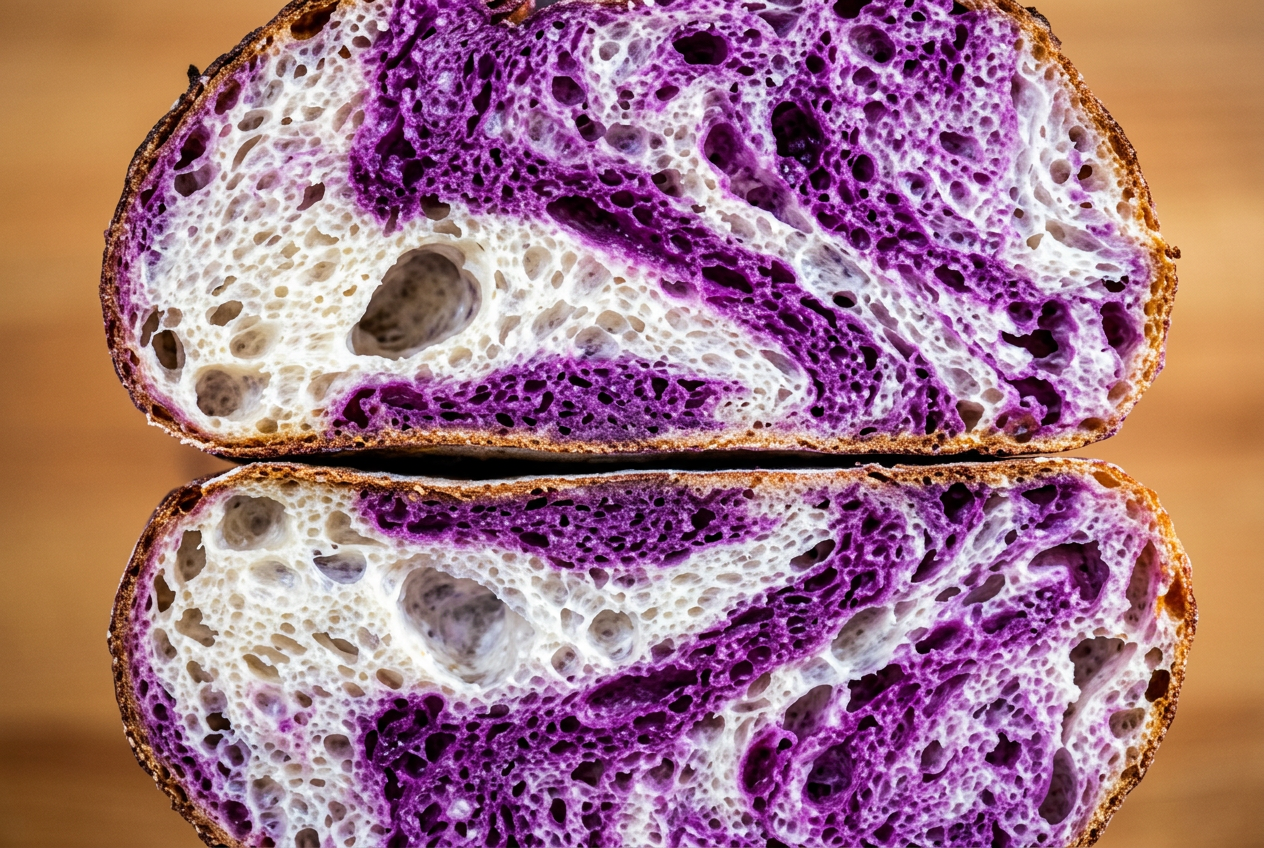
Purple Sweet Potato Sourdough | Baking Great Bread at Home
Get More Recipes in Your Inbox
Join thousands of home bakers receiving weekly recipes, tips, and techniques to elevate your bread game.
No spam, ever. Unsubscribe anytime.
More from Baking Great Bread at Home
Tools, resources, and community to help you bake better bread

Crust & Crumb Academy
Go deeper into your craft. FREE courses, challenges, and real feedback. No gatekeeping. Perfection is not required.

Sourdough Starter Companion
Your AI-powered starter assistant. Track feedings, troubleshoot issues, and keep your starter thriving.

Fermentation Compass
Stop guessing when bulk fermentation is finished. Read your dough. Nail your bake.

BakingGreatBread.com
Real bread for the rest of us

Baking Great Bread Blog
Recipes, tips, and stories from the bread journey

Recipe Converter
Convert sourdough recipes to yeast and back again
Crust & Crumb App
Your AI-powered baking assistant

Facebook Community
Join 50,000+ bakers sharing, learning, and supporting each other

Sourdough for the Rest of Us
Free beginner's guide to sourdough