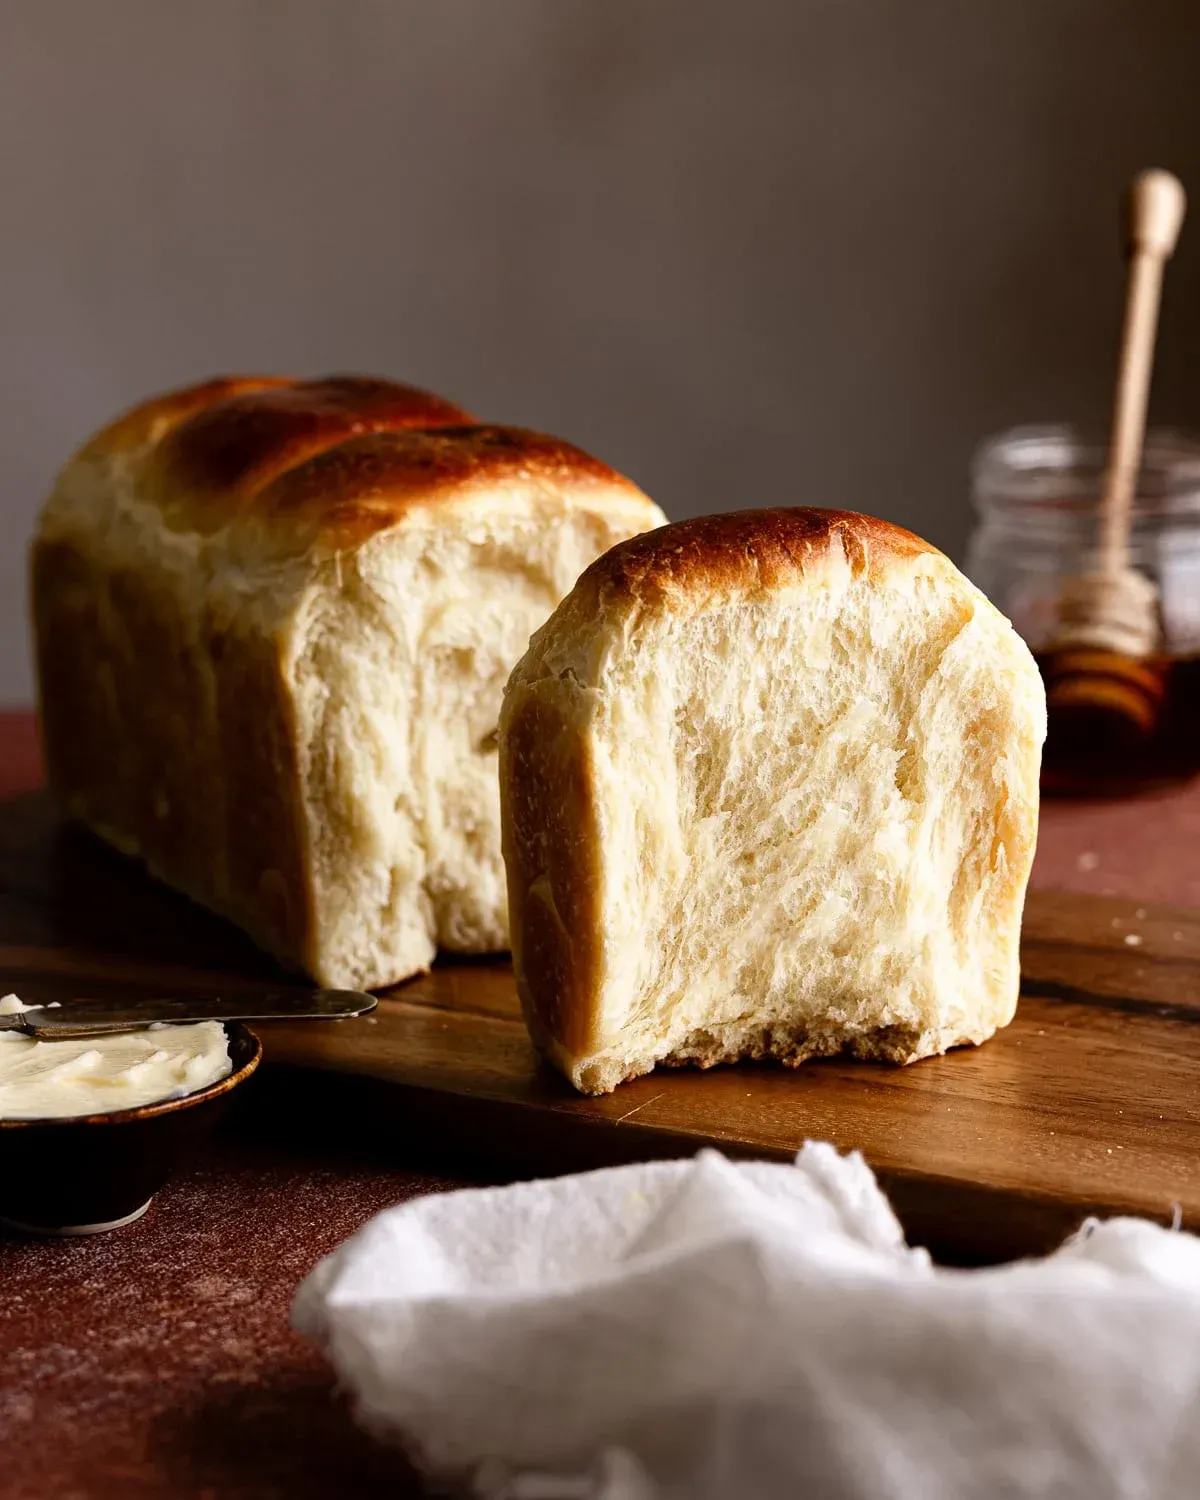
All the flaky layers of a croissant, baked as a loaf
IntermediateCroissant Bread(Yeasted)
by Henry Hunter Jr.
The viral croissant loaf, made the easy way
Rise Time
3 hours
Bake Time
35-40 minutes
Yield
Serves 8-10


Perfection is not required
"Perfection is not required. Progress is."— Henry Hunter Jr.
By Henry Hunter Jr., founder of Crust & Crumb Academy and Baking Great Bread at Home.
Authentic Flavor
A buttery, flaky croissant loaf made with grated frozen butter instead of a butter block. Same-day yeasted version, no lamination expert required.
Equipment Needed
Ingredients
The Dough
A soft, lightly enriched base. The yolk and a little butter keep it tender.
The Lamination Butter
This is the butter that makes the layers. Keep it rock hard until the second you grate it.
Egg Wash
Pro Tip
Throw your stick of butter in the freezer the night before. Cold butter is the whole secret here, so don't skip that step.
Mix
Make the Dough
We're building a soft base first. Don't worry about layers yet. Right now you just want a smooth, supple dough.
Click each step to mark complete
Combine the Wet Ingredients
In the bowl of a stand mixer, whisk together the warm milk, egg yolk, and sugar until the sugar dissolves. The milk should feel just warm to the touch, not hot. Hot milk will kill the yeast.
Add the Dry and the Soft Butter
Add the bread flour, instant yeast, salt, and softened butter. Mix on low with the dough hook until it comes together, then knead on medium for 8 to 10 minutes.
Check the Dough
You're looking for a smooth, slightly tacky dough that passes the . Stretch a small piece thin enough to see light through it without tearing. If it tears, knead a couple more minutes.
Pro Tip
No stand mixer? Mix by hand and knead on the counter for 12 to 15 minutes. It's a workout, but it works.
Precise Timers
Use these interactive timers to track your stages.
Knead
Rise
First Rise
A short relaxes the dough so it rolls out without fighting you.
Click each step to mark complete
Let It Puff
Cover the bowl and let the dough rise at room temperature until it's puffy and about one and a half times its size, roughly 1 hour. It does not need to fully double.
⏱ Wait Time
about 1 hour
Precise Timers
Use these interactive timers to track your stages.
First Rise
Laminate
Laminate the Butter
This is the part everyone's talking about
Here's the trick that fakes a croissant. We grate frozen butter into the dough and fold it in, building thin sheets of butter between layers of dough. No butter block, no rolling pin gymnastics. This is for the rest of us.
Click each step to mark complete
Roll It Out
Turn the dough onto a lightly floured counter and roll it into a rectangle about 12 by 16 inches, with a long side facing you.
Grate the Frozen Butter
Working fast, grate the frozen butter over the bottom two-thirds of the dough using the large holes of a box grater. Spread it evenly. Keep your hands off it as much as you can so it stays cold.
Letter Fold
Fold the bare top third down over the middle, then fold the buttered bottom third up over that, like folding a letter. You now have three layers. Pinch the edges to seal.
Chill, Then Fold Again
Wrap the dough and chill it in the fridge for 20 minutes. Roll it back out to a rectangle, then do one more letter fold. Chill 20 more minutes. If the butter ever starts to melt or smear, stop and chill right away.
⏱ Wait Time
about 40 minutes total
Pro Tip
If your kitchen runs warm, chill the rolling pin and counter too. Warm butter melts into the dough and you lose the layers.
Layers Come From Steam
When the loaf hits the hot oven, the water in the cold butter turns to steam and pushes the dough apart into thin sheets. That's what gives you those flaky, pull-apart layers.
Melted Butter Means No Layers
If the butter softens and blends into the dough before it bakes, there's nothing left to create steam pockets. You'd get a tender, rich loaf, but not a flaky one. Cold is everything.
The Takeaway
Keep the butter cold and you keep the layers. That's the whole game.
Precise Timers
Use these interactive timers to track your stages.
First Chill
Second Chill
Shape
Shape and Proof
Now we roll the laminated dough into a loaf and let it finish in the pan.
Click each step to mark complete
Roll Into a Log
Roll the dough one last time into a rectangle about the length of your loaf pan. Starting from a short side, roll it up snugly into a log, sealing the seam at the end.
Into the Pan
Place the log seam side down in a buttered 9x5 inch loaf pan. Cover loosely.
Proof Until It Crowns
Let it proof at room temperature until the dough rises about an inch above the rim of the pan, roughly 1½ to 2 hours. Use the : a gentle press should spring back slowly and leave a small dent.
⏱ Wait Time
1½ to 2 hours
Precise Timers
Use these interactive timers to track your stages.
Final Proof
Shaping
Shape the Loaf
A snug log gives you the classic sandwich-loaf look with flaky layers running through every slice.
Sandwich Loaf
The simplest and most reliable shape for a 9x5 pan.
RecommendedClick each step to mark complete
Roll
Roll the laminated dough into a rectangle the length of your pan.
Log
Roll it up snugly from a short side and seal the seam.
Pan
Set it seam side down in the buttered pan.
Free-form Boule
No loaf pan? Shape it round and bake on a sheet pan.
Click each step to mark complete
Round
Gather the dough into a tight round, sealing the seam underneath.
Proof
Proof on a parchment-lined sheet pan, then egg wash and bake the same way.
Proof Test: Poke the side gently with a floured finger. It's ready when the dent fills back in slowly and doesn't spring all the way back.
Bake
Egg Wash and Bake
A quick gives that deep golden, glossy croissant color.
Step by Step
Wash It
Whisk the egg with the milk and brush it gently over the top of the proofed loaf. Don't press down or you'll deflate it.
Bake
Bake at 375F (190C) for 35 to 40 minutes, until deep golden brown and the internal temperature reads 190F (88C). If the top browns too fast, tent it loosely with foil for the last 10 minutes.
Cool Before Slicing
Turn the loaf out onto a rack and let it cool at least 30 minutes before slicing. Cutting too soon makes it gummy and the layers smush together.
Bake
Cool
Baking Methods
The everyday method. No steam or Dutch oven needed for this one.
Equipment: 9x5 inch loaf pan
Preheat
Preheat the oven to 375F (190C) with a rack in the center.
Bake
Bake 35 to 40 minutes until deep golden and 190F (88C) inside.
Tent if Needed
If the top darkens too quickly, tent loosely with foil for the final 10 minutes.
"Bake to temperature, not to color. A thermometer in the center is the only way to know it's truly done."
Nutrition Facts
Per 1 slice • 10 servings per recipe
* Values are estimates based on standard ingredients
Storage
Room Temperature
2 to 3 days wrapped in a bread bag or beeswax wrap. The layers stay best at room temperature.
Refrigerated
Not recommended. The fridge dries it out and dulls the flaky texture.
Frozen
Up to 2 months. Slice first, then freeze in a sealed bag so you can pull what you need.
Refresh
Warm slices in a 325F (160C) oven for 5 minutes to bring the layers and butter back to life.
Your Feedback
Rate This Recipe
Loading ratings...
Troubleshooting
Baker's Notes
Common questions and solutions for perfect results

If you're serious about scoring, you need the right blade in your hand. Wire Monkey makes handcrafted bread lames from black walnut — built to last, balanced in the hand, and sharp enough to glide through cold dough cleanly every single time. No dragging, no hesitation marks. Just a clean cut.
Wire Monkey Handcrafted Bread Lames
You Might Also Enjoy
More recipes from our pantry that pair well with this bake.

Get More Recipes in Your Inbox
Join thousands of home bakers receiving weekly recipes, tips, and techniques to elevate your bread game.
No spam, ever. Unsubscribe anytime.
More from Baking Great Bread at Home
Tools, resources, and community to help you bake better bread

Crust & Crumb Academy
Go deeper into your craft. FREE courses, challenges, and real feedback. No gatekeeping. Perfection is not required.

Sourdough Starter Companion
Your AI-powered starter assistant. Track feedings, troubleshoot issues, and keep your starter thriving.

Fermentation Compass
Stop guessing when bulk fermentation is finished. Read your dough. Nail your bake.

BakingGreatBread.com
Real bread for the rest of us

Baking Great Bread Blog
Recipes, tips, and stories from the bread journey
Recipe Converter
Convert sourdough recipes to yeast and back again
Crust & Crumb App
Your AI-powered baking assistant

Facebook Community
Join 50,000+ bakers sharing, learning, and supporting each other
Sourdough for the Rest of Us
Free beginner's guide to sourdough