Tangzhong Method for Extended Freshness
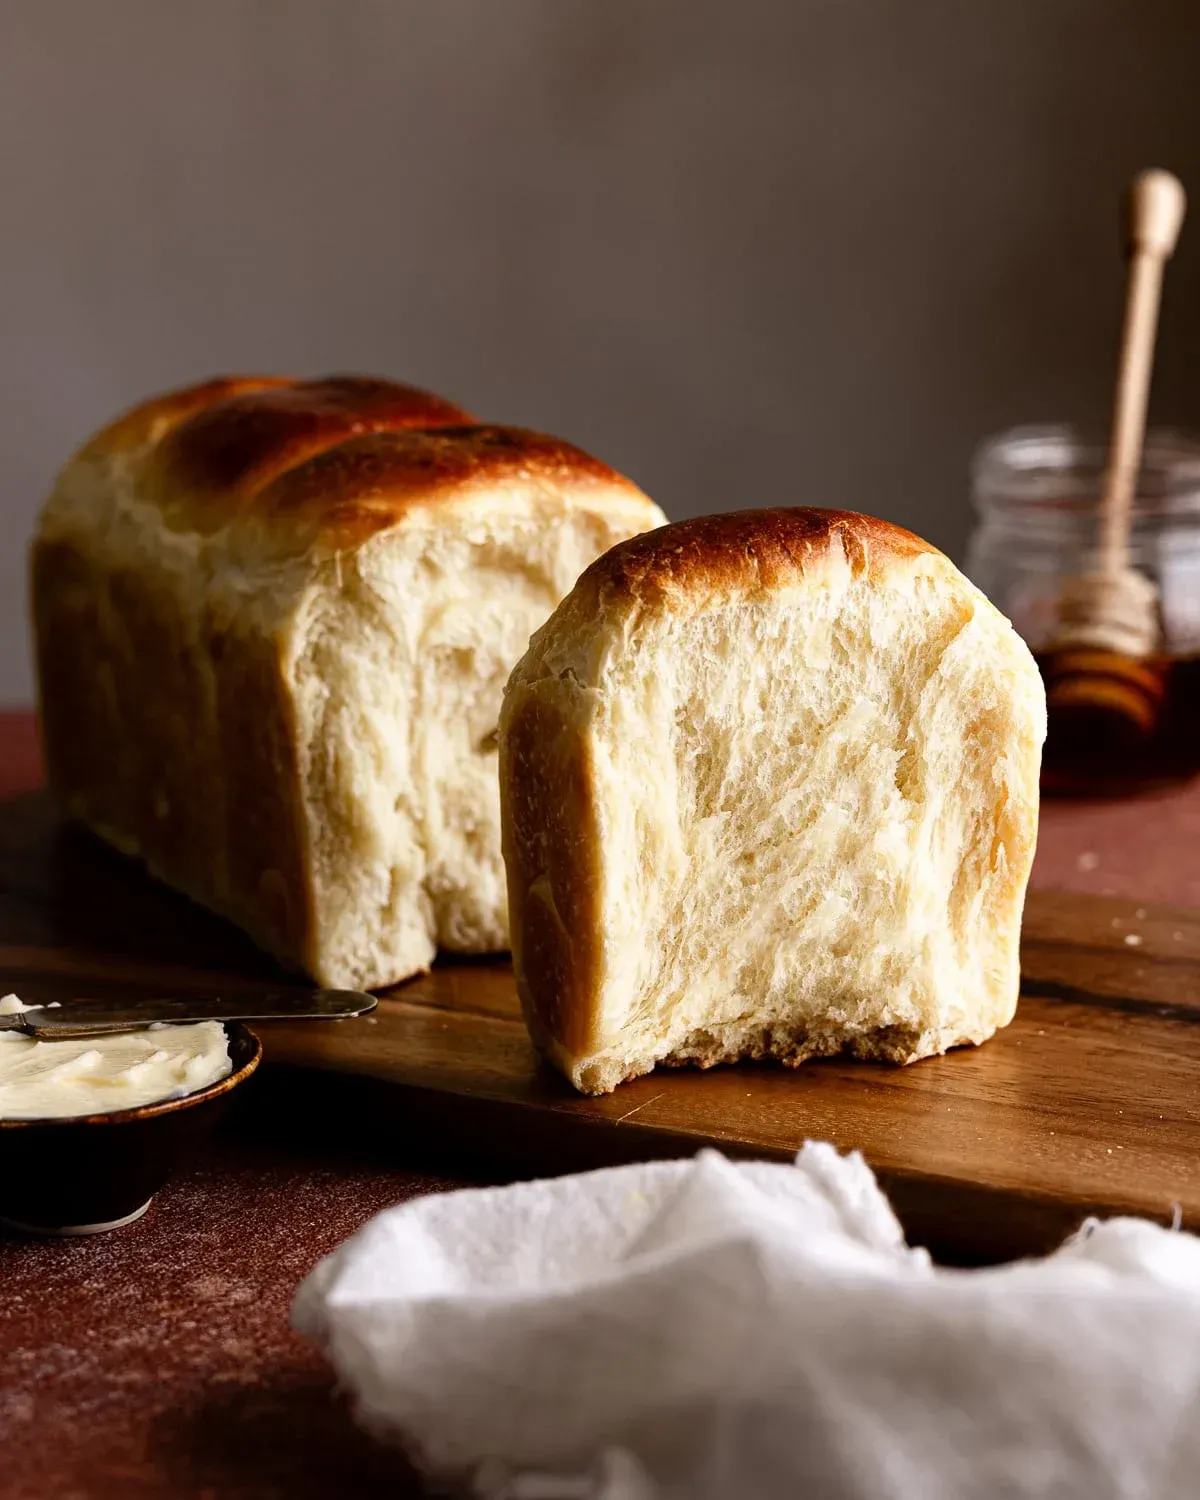
IntermediateBriocheBread
by Henry Hunter Jr.
The buttery French bread that stays impossibly soft for days
Rise Time
10-14 hrs
Bake Time
30-35 min
Yield
Makes 1 large loaf (9x5 pan) or 12 rolls


Perfection is not required
"Great bread isn't about perfect technique—it's about understanding the dough."— Henry Hunter Jr.
By Henry Hunter Jr., founder of Crust & Crumb Academy and Baking Great Bread at Home.
Authentic Flavor
This isn't your average brioche. By combining traditional French technique with the Japanese tangzhong method, you get all the rich, buttery flavor of…
Equipment Needed
Ingredients
Tangzhong (Make First)
This cooked flour paste is the secret to brioche that stays soft for days
Dough
Egg Wash & Finishing
Day 1
Make the Tangzhong
This cooked flour paste is the secret to brioche that stays soft for days. The heat gelatinizes the starches, allowing them to hold more moisture.
Click each step to mark complete
Whisk together
In a small saucepan, whisk bread flour and milk until no lumps remain.
Cook over medium-low heat
Stir constantly with a spatula or whisk. The mixture will thicken quickly.
Watch for the right consistency
Continue stirring until it reaches 150°F (65°C) and resembles thick mashed potatoes. When you drag your spatula through, it should leave clear lines.
Remove and add butter
Take off heat immediately. Stir in cold butter until melted and incorporated.
Cool completely
Transfer to a bowl. Press plastic wrap directly onto the surface to prevent a skin. Cool to room temperature (or refrigerate up to 24 hours).
Precise Timers
Use these interactive timers to track your stages.
Tangzhong Cooking
Day 1
Mix the Dough (Pre-Butter)
Building gluten strength BEFORE adding butter is the most important technique in brioche. Skip this and your bread will be dense.
Click each step to mark complete
Combine wet ingredients
In the bowl of a stand mixer, add cooled , cold milk, and cold eggs. Whisk briefly with a fork to combine.
Add dry ingredients
Add bread flour, sugar, and yeast to the bowl. Place salt on the opposite side from the yeast.
Mix on low
Attach dough hook. Mix on speed 1-2 for 2 minutes until a shaggy dough forms and no dry flour remains.
Increase speed and knead
Increase to speed 3-4 and knead for 8-10 minutes. The dough will slap the sides of the bowl and eventually become smooth and elastic.
CHECKPOINT - Windowpane test
Stop the mixer. Pinch off a small piece of dough and stretch it gently. It should stretch thin enough to see light through without tearing. If it tears, knead 2-3 more minutes and test again.
Precise Timers
Use these interactive timers to track your stages.
Initial Mix
Kneading
Day 1
Add Butter (The Critical Step)
Butter temperature is everything. Too soft = greasy dough. Too cold = it won't incorporate. You want 'pliable but cool.'
Click each step to mark complete
Check your butter
It should give slightly when pressed but still feel cool to the touch. Not soft and spreadable, not hard from the fridge. Think 'Play-Doh consistency.'
Cut butter into pieces
Divide into roughly 12 pieces (about 13g each).
Add butter one piece at a time
With mixer on speed 2, add one piece of butter. Wait until it's mostly absorbed before adding the next piece. This takes patience.
Watch for trouble signs
If butter starts leaking out (you'll see oily streaks), STOP. Refrigerate remaining butter for 10 minutes, then continue.
Keep mixing after all butter is added
Once all butter is in, increase to speed 3-4 and mix for another 5-7 minutes.
Final texture check
Dough should be smooth, shiny, and slightly tacky. It will pull cleanly from the bowl sides. When you lift the dough hook, it should stretch without breaking.
Precise Timers
Use these interactive timers to track your stages.
Butter Incorporation
Day 1
Initial Rise
A short room temperature rise gets fermentation started before the overnight cold retard.
Click each step to mark complete
Transfer to a clean bowl
The dough will be soft and sticky. Use a bench scraper to move it to a large, lightly greased bowl.
Cover tightly
Press plastic wrap directly onto the dough surface, then cover the bowl with a lid or more plastic wrap.
Rise at room temperature
Let rise until puffy and increased by about 50% (not fully doubled). This takes 1-1.5 hours depending on your kitchen temperature.
Deflate gently
Press down on the dough to release large gas bubbles. Don't punch aggressively.
Precise Timers
Use these interactive timers to track your stages.
Initial Rise Check
Day 1 → Day 2
Cold Retard (Overnight)
The overnight refrigeration is mandatory, not optional. It develops flavor, firms the butter for easier shaping, and produces superior texture.
Click each step to mark complete
Cover and refrigerate
Make sure dough is tightly covered. Place in the coldest part of your refrigerator.
Let it rest
Minimum 8 hours, maximum 24 hours. The dough may rise slightly in the fridge, which is normal.
Don't skip this step
Warm brioche dough is nearly impossible to shape. The is what makes this bread manageable.
⏱ Wait Time
The cold retard firms the butter and develops complex flavors
Day 2
Final Proof
This is a slow rise because the dough is cold. Be patient. Rushing leads to dense bread.
Click each step to mark complete
Cover loosely
Drape plastic wrap or a damp towel over the shaped dough. Don't let it touch the surface.
Proof at room temperature
Let rise until doubled and dough looks puffy and pillowy. At 75°F this takes 2-2.5 hours. Cooler kitchens may need 3+ hours.
Poke test
Gently press a floured finger into the dough. If the indent springs back slowly but doesn't fill in completely, it's ready. If it springs back quickly, longer.
Preheat oven
Start preheating to 350°F (175°C) about 30 minutes before you expect the dough to be ready.
Precise Timers
Use these interactive timers to track your stages.
First Proof Check
Preheat Oven
Shaping
Shape Your Brioche
This is where you decide what your brioche becomes. The dough is the same. The shape is your call. Pull it straight from the fridge while it's cold and firm, because cold brioche is far easier to handle than warm. Lightly flour your surface, divide, and shape. Here are five ways to go.
Bubble-Top Loaf (9x5 pan)
The classic look. A row of rounds that bake together into soft, pull-apart humps across the top.
RecommendedClick each step to mark complete
Grease the pan
Butter a 9x5 inch loaf pan well, bottom and sides.
Divide
Cut the cold dough into 8 equal pieces, about 95g each. A scale keeps them even, and even pieces rise even.
Round each piece
Cup your hand over a piece and roll it in small circles against the counter until you feel a tight, smooth ball. Pinch the seam closed underneath.
Stagger in the pan
Set 4 balls in a row down the pan, then nestle the other 4 on top in the gaps, staggered like a brick wall. That's what gives you the bubble tops.
Pullman Loaf (flat-top sandwich loaf)
A square, tight-crumbed sandwich loaf. Bake with the lid on for that signature flat top, or leave it off for a gentle dome.
Click each step to mark complete
Grease the Pullman pan
Butter a 9x4 or 13x4 Pullman pan, including the underside of the lid if you're using it.
Shape a log
Pat the cold dough into a rough rectangle about the length of your pan. Roll it up tight from the short end, sealing as you go, and pinch the final seam.
Settle it seam-down
Lay the log seam-side down in the pan. For a smaller pan, divide into 2 or 3 pieces, round them, and line them up instead.
Decide on the lid
Lid on gives you a flat, even sandwich loaf. Slide the lid most of the way closed for the proof, then close it fully just before baking. Watch it the first time so the dough doesn't push the lid open.
Classic Single Loaf
One smooth log in a standard pan. Simple, tall, and great for slicing.
Click each step to mark complete
Grease the pan
Butter a 9x5 inch loaf pan.
Shape one log
Pat the cold dough into a rectangle about as wide as your pan is long. Roll it up snug, pinch the seam, and tuck the ends under.
Place seam-down
Set the log seam-side down in the pan and press the corners gently so it fills the pan evenly.
Dinner Rolls
Soft pull-apart rolls for the table. Makes about 12.
Click each step to mark complete
Grease the pan
Butter a 9x9 square pan or a round cake pan.
Divide
Cut the cold dough into 12 equal pieces, about 60 to 65g each.
Round each one
Roll each piece into a tight ball with the cupped-hand motion. Pinch the seam underneath.
Arrange with room to grow
Set the balls in the pan with a little space between them. They'll touch as they proof and bake, and that's what makes them pull apart.
Hamburger Buns
Sturdy, soft buns built for a burger. Makes about 6 to 8.
Click each step to mark complete
Line a sheet pan
Line a baking sheet with parchment.
Divide
Cut the cold dough into 6 to 8 pieces, about 95 to 125g each depending on how big you want them.
Round, then flatten
Shape each into a tight ball, then press gently with your palm to flatten into a thick disc about 4 inches across.
Space them out
Set them on the sheet with room between them, since they spread as they proof. For taller, rounder buns, proof them inside greased metal rings.
Proof Test: However you shape it, the final proof is the same. Cover loosely and let it rise until doubled and puffy, about 2 to 2.5 hours at 75F (24C). Then do the poke test: press a floured finger gently into the dough. If the dent springs back slowly but doesn't fill in all the way, it's ready to bake. If it springs back fast, give it more time. If it doesn't spring back at all, get it in the oven now.
Day 2
Bake & Finish
Brioche browns quickly because of the sugar and eggs. Watch carefully and tent with foil if needed.
Step by Step
Make egg wash
Whisk egg yolk with cream or milk until smooth.
Apply egg wash gently
Use a very light touch with the pastry brush. Don't press down on the proofed dough.
Optional toppings
Sprinkle with flaky sea salt, pearl sugar, or leave plain.
Bake at 350°F
Place pan in center of oven. Bake for 30-35 minutes.
Watch for browning
If top browns too quickly (after 15-20 minutes), tent loosely with foil.
Check doneness
Internal temperature should reach 190-195°F (88-90°C). The top should be deep golden brown.
Cool in pan briefly
Let rest 5-10 minutes, then turn out onto a wire rack.
Cool completely before slicing
At least 30 minutes, ideally 1 hour. The interior continues cooking as it cools.
Bake
Check/Tent
Cool
Nutrition Facts
Per 1 slice (about 70g) • 12 servings per recipe
* Values are estimates based on standard ingredients
Storage
Room Temperature
3-4 days in an airtight container (thanks to tangzhong!)
Refrigerated
Up to 5 days, tightly wrapped. Bring to room temperature or warm briefly before serving.
Frozen
Up to 3 months. Slice before freezing for easy thawing.
Refresh
Warm at 325°F (165°C) for 8-10 minutes, or microwave individual portions for 15-20 seconds.
💡 Refrigerator storage is not recommended as it accelerates staling. Reheat at 300°F for 5-10 minutes to refresh.
Your Feedback
Rate This Recipe
Loading ratings...
Troubleshooting
Baker's Notes
Common questions and solutions for perfect results

If you're serious about scoring, you need the right blade in your hand. Wire Monkey makes handcrafted bread lames from black walnut — built to last, balanced in the hand, and sharp enough to glide through cold dough cleanly every single time. No dragging, no hesitation marks. Just a clean cut.
Wire Monkey Handcrafted Bread Lames
You Might Also Enjoy
More recipes from our pantry that pair well with this bake.


Get More Recipes in Your Inbox
Join thousands of home bakers receiving weekly recipes, tips, and techniques to elevate your bread game.
No spam, ever. Unsubscribe anytime.
More from Baking Great Bread at Home
Tools, resources, and community to help you bake better bread

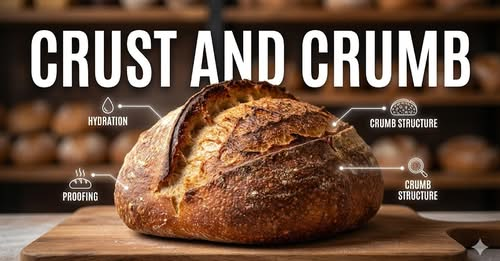
Crust & Crumb Academy
Go deeper into your craft. FREE courses, challenges, and real feedback. No gatekeeping. Perfection is not required.

Sourdough Starter Companion
Your AI-powered starter assistant. Track feedings, troubleshoot issues, and keep your starter thriving.

Fermentation Compass
Stop guessing when bulk fermentation is finished. Read your dough. Nail your bake.

BakingGreatBread.com
Real bread for the rest of us

Baking Great Bread Blog
Recipes, tips, and stories from the bread journey
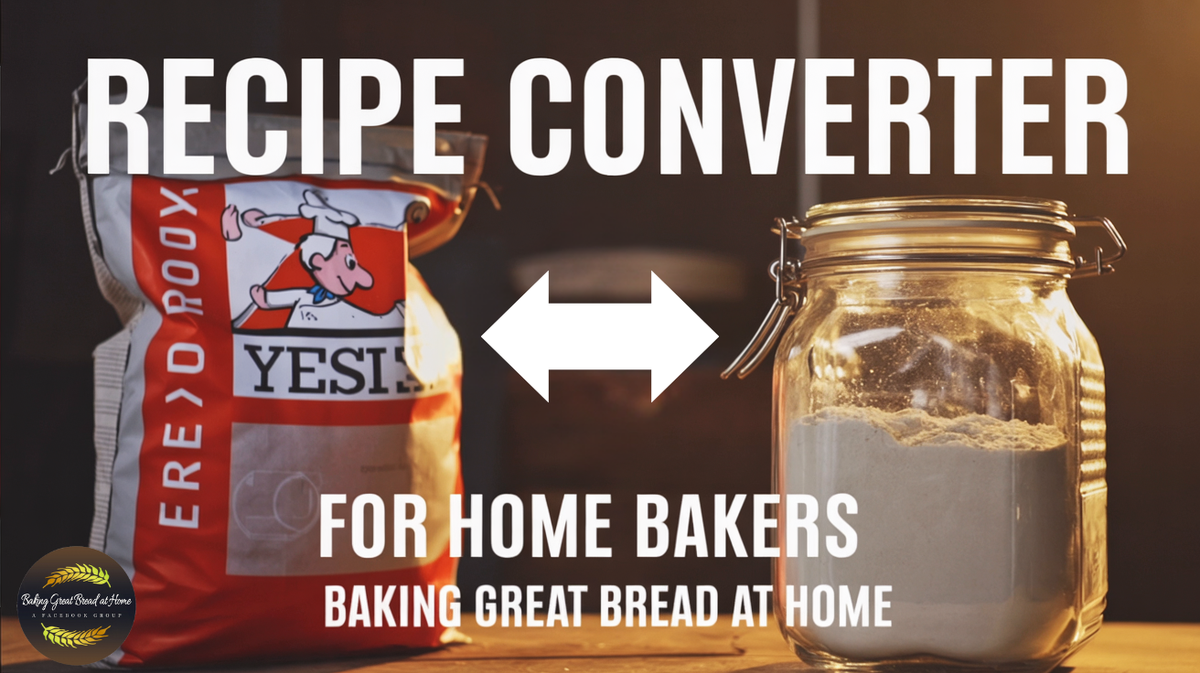
Recipe Converter
Convert sourdough recipes to yeast and back again
Crust & Crumb App
Your AI-powered baking assistant

Facebook Community
Join 50,000+ bakers sharing, learning, and supporting each other
Sourdough for the Rest of Us
Free beginner's guide to sourdough