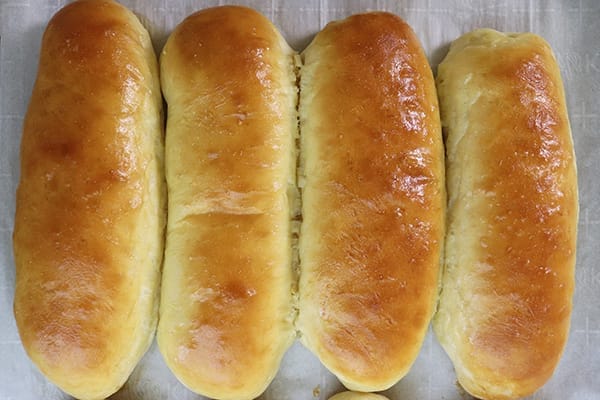
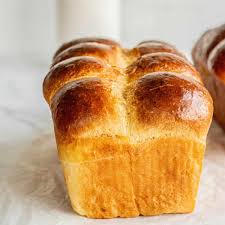
Soft, Buttery Split-Top Buns
BeginnerBakery-Style Hot DogBuns
by Henry Hunter Jr.
The bun that makes your hot dogs taste like they came from a ballpark that actually cares about food.
Rise Time
2-2.5 hrs
Bake Time
15-18 min
Yield
Makes 10 hot dog buns

Perfection is not required
"Great bread isn't about perfect technique—it's about understanding the dough."— Henry Hunter Jr.
By Henry Hunter Jr., founder of Crust & Crumb Academy and Baking Great Bread at Home.
Authentic Flavor
Pillowy tangzhong hot dog buns that stay soft for 3–4 days. An extra yolk and butter brush take them from good to unforgettable.
Equipment Needed
Ingredients
Tangzhong (Make First)
This cooked flour paste is the secret to soft, fluffy buns
Dough
Egg Wash & Finishing
Make the Tangzhong
This cooked flour paste traps moisture for incredibly soft buns
Click each step to mark complete
Combine
Whisk bread flour and milk in a small saucepan until no lumps remain.
Cook
Place over medium-low heat, stirring constantly with a spatula or whisk.
Watch for thickness
Continue stirring until mixture thickens to a mashed potato consistency and reaches 150°F (65°C). You'll see lines form when you drag your spatula through.
Add butter
Remove from heat immediately. Stir in cold butter until completely melted and incorporated.
Cool
Transfer to a bowl. Press plastic wrap directly onto surface to prevent skin. Cool to room temperature (or refrigerate if making ahead).
Precise Timers
Use these interactive timers to track your stages.
Tangzhong Cooking
Mix the Dough
Building the enriched dough with patience
Click each step to mark complete
Combine wet ingredients
In the bowl of a stand mixer, add warm milk, honey, and cooled . Stir with a spatula to combine.
Add dry ingredients
Add bread flour, milk powder, salt, and instant yeast. (Keep salt and yeast on opposite sides of the bowl.)
Initial mix
Using the dough hook, mix on low speed for 2 minutes until a shaggy dough forms.
Add eggs
With mixer running on low, add the whole egg and egg yolk. Increase to medium-low and mix for 3 minutes.
Add butter
Add softened butter in 3 additions, waiting until each is mostly incorporated before adding the next. This takes patience—don't rush it.
Knead
Increase to medium speed and knead for 8-10 minutes. Dough should be smooth, elastic, slightly tacky, and clear the sides of the bowl.
Windowpane test
Pinch off a small piece and stretch it thin. If you can stretch it until light passes through without tearing, you're done.
Precise Timers
Use these interactive timers to track your stages.
Initial Mix
After Eggs
Kneading
Bulk Fermentation
First rise until doubled
Click each step to mark complete
Transfer
Shape dough into a ball and place in a lightly greased large bowl.
Cover
Cover tightly with plastic wrap or a damp towel.
Rise
Let rise at room temperature (75-78°F / 24-26°C) until doubled in size, about 1-1.5 hours.
Poke test
Press a floured finger ½ inch into dough. If the indent springs back slowly but remains visible, it's ready.
Precise Timers
Use these interactive timers to track your stages.
Check Rise
Max Rise Time
Divide & Pre-Shape
Portioning for consistent buns
Click each step to mark complete
Turn out
Gently transfer dough to a lightly floured surface. Don't punch it down aggressively—just deflate gently.
Weigh & divide
Use a bench scraper to divide into 10 equal pieces. For consistency, weigh each piece (90-95g each).
Pre-shape
Gently shape each piece into a ball by tucking the edges underneath and pinching to seal.
Rest
Cover loosely with a towel. Let rest 10 minutes to relax the gluten.
Precise Timers
Use these interactive timers to track your stages.
Bench Rest
Shaping
Final Shaping
Choose your preferred shaping method based on your equipment
Free-Form (No Pan)
Classic hot dog bun shape on a sheet pan
RecommendedClick each step to mark complete
Flatten
Working with one ball at a time, use your palms or a rolling pin to flatten into a 4" x 6" rectangle.
Roll
Starting from the long edge (6" side), roll the dough tightly toward you, keeping tension.
Seal
Pinch the seam closed. Pinch the ends closed and tuck slightly underneath.
Smooth
Gently roll with your palms to create an even 6-inch log.
Arrange
Place seam-side down on a parchment-lined sheet pan. Arrange in 2 rows of 5, with buns touching side-by-side (about ½ inch apart before proofing).
New England Style Pan
Top-split buns using a specialty pan
Click each step to mark complete
Shape logs
Follow steps 1-4 from Free-Form method for each piece.
Place in pan
Arrange shaped logs in the greased pan cavities.
Alternative method
Instead of individual logs, stretch the entire dough mass into a 15" x 6" rectangle and press into the pan, pushing into corners.
Final Proof
Last rise before baking
Click each step to mark complete
Cover
Loosely cover the shaped buns with plastic wrap or a damp towel.
Proof
Let rise at room temperature until puffy and nearly doubled, 45-60 minutes.
Touch test
Gently poke a bun—it should feel airy and spring back slowly.
Preheat
Start preheating your oven to 375°F (190°C) about 20 minutes before baking.
Precise Timers
Use these interactive timers to track your stages.
Proof Check
Preheat Oven
The Final Step
Bake & Finish
The butter brush is non-negotiable
Step by Step
Egg wash
Beat 1 egg with 1 Tbsp milk. Gently brush over proofed buns.
Optional toppings
Sprinkle with sesame seeds, poppy seeds, or Everything Bagel seasoning.
Bake
Place in preheated 375°F oven. Bake for 15-18 minutes until deep golden brown.
Check doneness
Internal temperature should reach 190°F (88°C).
CRUCIAL - Butter brush
Immediately brush hot buns with melted butter. This is what keeps the crust soft.
Cool
Transfer to a wire rack. Cool at least 15 minutes before slicing.
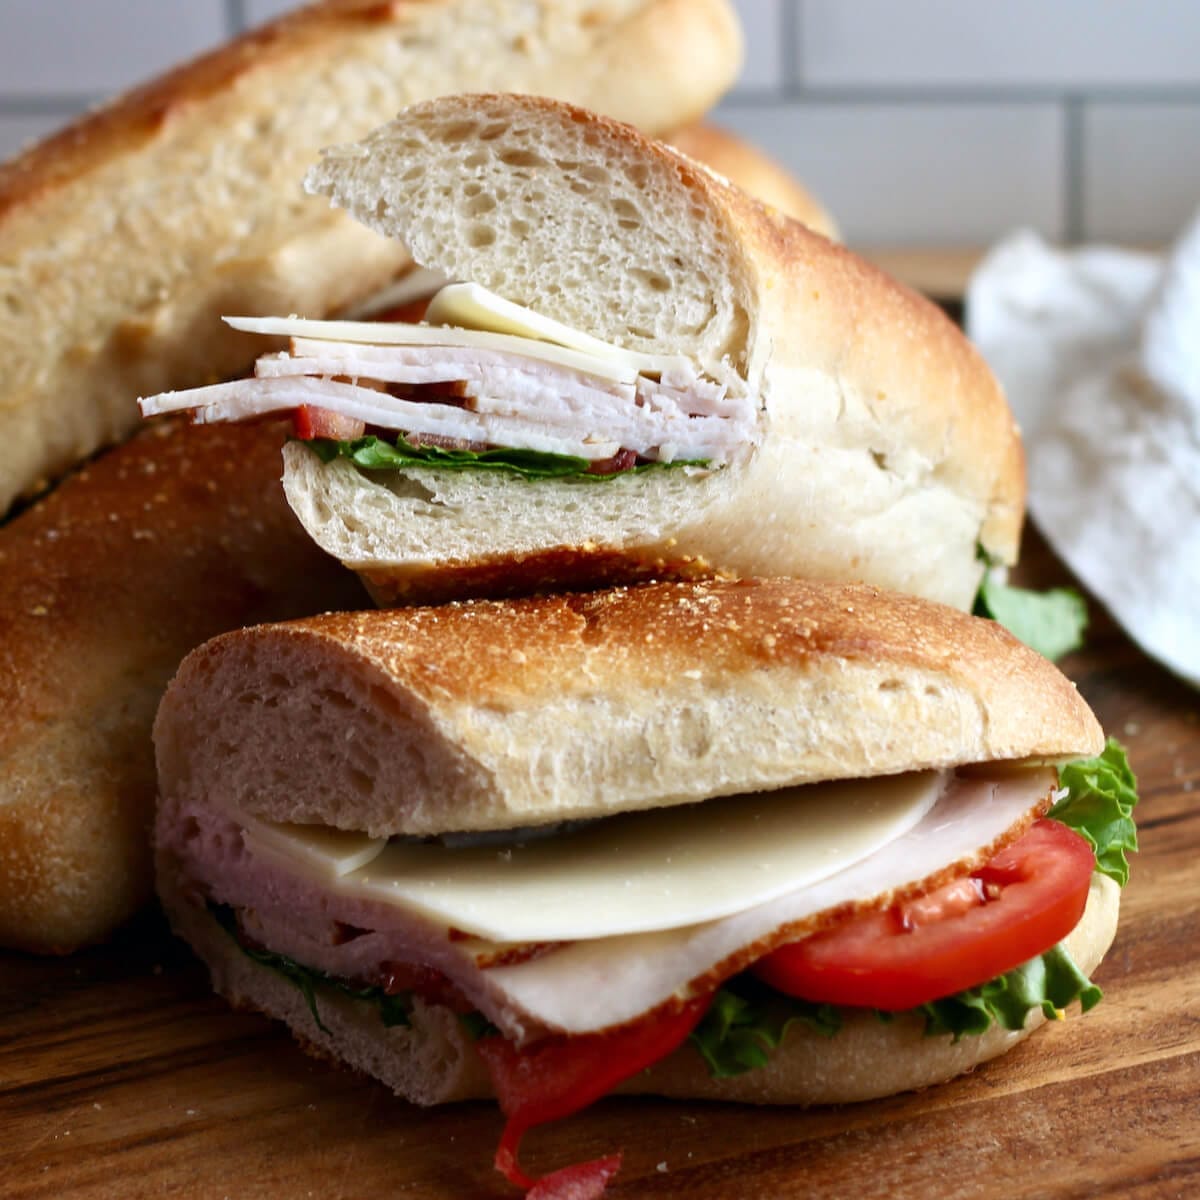
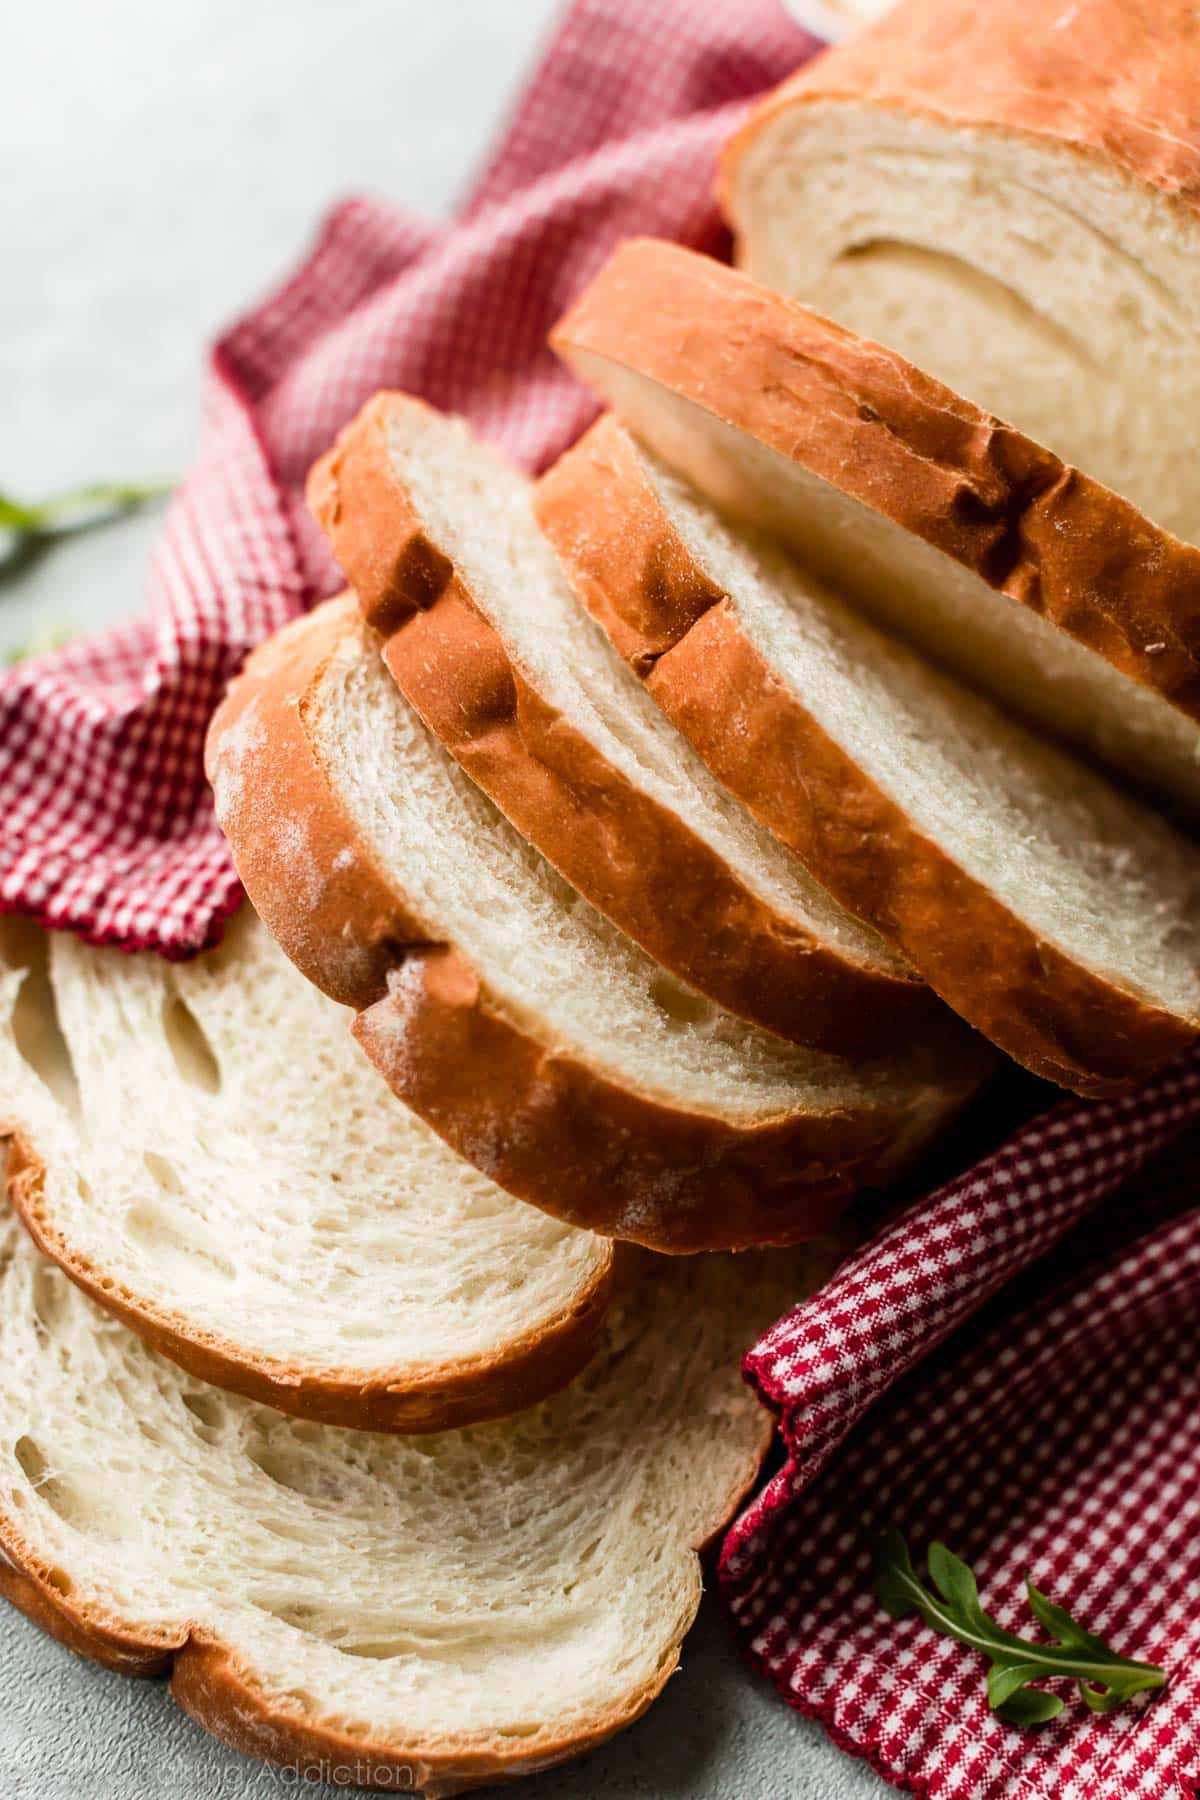
Slice
Use a serrated knife to cut horizontally through the top (or side for regular buns), leaving about ½ inch connected at the bottom.
Bake
Check/Rotate
Cool Before Slicing
Nutrition Facts
Per 1 bun (about 95g) • servings per recipe
* Values are estimates based on standard ingredients
Storage
Room Temperature
3-4 days in airtight container
Refrigerated
Up to 5 days, tightly wrapped. Bring to room temperature or warm briefly before serving.
Frozen
Up to 3 months
Refresh
300°F for 5-10 minutes
Your Feedback
Rate This Recipe
Loading ratings...
Troubleshooting
Baker's Notes
Common questions and solutions for perfect results

If you're serious about scoring, you need the right blade in your hand. Wire Monkey makes handcrafted bread lames from black walnut — built to last, balanced in the hand, and sharp enough to glide through cold dough cleanly every single time. No dragging, no hesitation marks. Just a clean cut.
Wire Monkey Handcrafted Bread Lames
You Might Also Enjoy
More recipes from our pantry that pair well with this bake.
Get More Recipes in Your Inbox
Join thousands of home bakers receiving weekly recipes, tips, and techniques to elevate your bread game.
No spam, ever. Unsubscribe anytime.
More from Baking Great Bread at Home
Tools, resources, and community to help you bake better bread

Crust & Crumb Academy
Go deeper into your craft. FREE courses, challenges, and real feedback. No gatekeeping. Perfection is not required.
Sourdough Starter Companion
Your AI-powered starter assistant. Track feedings, troubleshoot issues, and keep your starter thriving.

Fermentation Compass
Stop guessing when bulk fermentation is finished. Read your dough. Nail your bake.

BakingGreatBread.com
Real bread for the rest of us

Baking Great Bread Blog
Recipes, tips, and stories from the bread journey
Recipe Converter
Convert sourdough recipes to yeast and back again
Crust & Crumb App
Your AI-powered baking assistant

Facebook Community
Join 50,000+ bakers sharing, learning, and supporting each other
Sourdough for the Rest of Us
Free beginner's guide to sourdough